welcome to loose powder

0

photoI’ve been collecting so many different food recipes lately, that I was super happy to come across The Raw Honey Face Mask from Whole Foods. The recipe uses easy to find pantry staples of honey and vinegar to combat acne. I’ve used this mixture three times a week for the last three weeks in combination with a gentle face wash and toner and have seen a great improvement to my skin, particularly with acne spots. The acne scars don’t appear as red, the acne itself isn’t as pronounced, and my skin just looks overall more toned and glowy. I gotta love natural, wholesome ingredients that don’t cost a fortune and is simple to use. Try this recipe out and share your thoughts.

(Raw) Honey Face Mask
4-1/2 teaspoon organic raw honey 
1 teaspoon apple cider vinegar, lemon juice or lavender 100% essential oil
Combine ingredients in a clean glass bowl. Using clean fingers, massage onto face (being careful around the area of your eyes). Allow the mixture to become dry and slightly tacky and then pat your skin to get blood flowing to the surface. Rinse with warm water.


1

As 2013 ends, I figured I’d add my two cents with a year-in-review of the top toiletries and cosmetics I use most most often. As an aside: I spent the fourth quarter of 2013 living out of suitcases and boxes, and this experience really got me to re-evaluating all my stuff (read: wants versus needs).

So 2013 simplified:
2013mostusedbyAL

Continue reading »


0

After I received my z-palettes, I started to research ways to depot my eyeshadows. But I was having trouble finding out how to depot bareMinerals READY Foundations.

So I decided to write up my own tutorial for it. Figuring it shouldn’t be too hard, right? Famous Last words.

Depotting tools

Tools:

  • bareMinerals READY compact

  • X-acto Knife (or anything flat and sharp)

  • Halogen Lamp (I got the lamp idea from Beauty Vibes, like her, I don’t have a flat iron.)

  • Tissues and/or paper towels

  • Nail Polish Remover or Rubbing Alcohol

Basically all you need to do is place a tissue paper over the lamp face and place your compact on the lamp. Since my lamp doesn’t turn upside down easily. I had to lean it on its back, balance it between two boxes, and work very hard to not burn myself.

Compact on lamp

I let the compact sit for about 2 minutes since my lamp gets very hot very quickly. If after 2 minutes and the pot still won’t budge, I’d put it on for another 2 minutes. But usually after about 5 minutes the pot is already very hot, and you don’t want to melt the container.

Wedging x-acto   Pop out pan

When the container is hot enough, take a X-acto knife and wedge it into the gap between the pot and container. Then carefully try to wedge the pot out. This takes some patience. If the pot is still being stubborn, let it heat on the lamp for another minute and try again. Eventually the pot will pop out. Depending on the contents, there is a possibility of it cracking a bit. For the READY foundation, bronzer, and blush, I didn’t have any cracking problems at all. However, for the the READY Touch-Up finishing Veil, I did have minor cracks along the side. But not enough to be considered damaged.

I used the same method to depot the bareMineral concealer as well. You don’t have to worry about that cracking since it’s a cream. Just be aware that it might melt a bit from the heat. Just let it sit for a bit to “harden” before you start working on wedging the pot of the container.

glue back   cleaning

After struggling with the container to pop the pan out, I placed the product face down on a paper towel and used nail polish remover on another paper towel to rub the tacky glue from the bottom of the pan. You can use rubbing alcohol, but I found the acetone in nail polish remover to be much more effective in removing all the residue.

Clean Pan

Once the back is clean, you can pop your depotted makeup into your magnetic palette of choice. I highly recommend z-palettes.

Z-Palette Open   Faux Blue Leather_4U

WARNING: Halogen lamps are VERY HOT and once you remove your compact from the lamp face. DON’T FORGET to also remove the tissue you place between the compact and the lamp face. You don’t want the tissue to burn and start a fire. I may have left a tissue for over five minutes once and it started to smoke.


0

Z-Palletes 4U

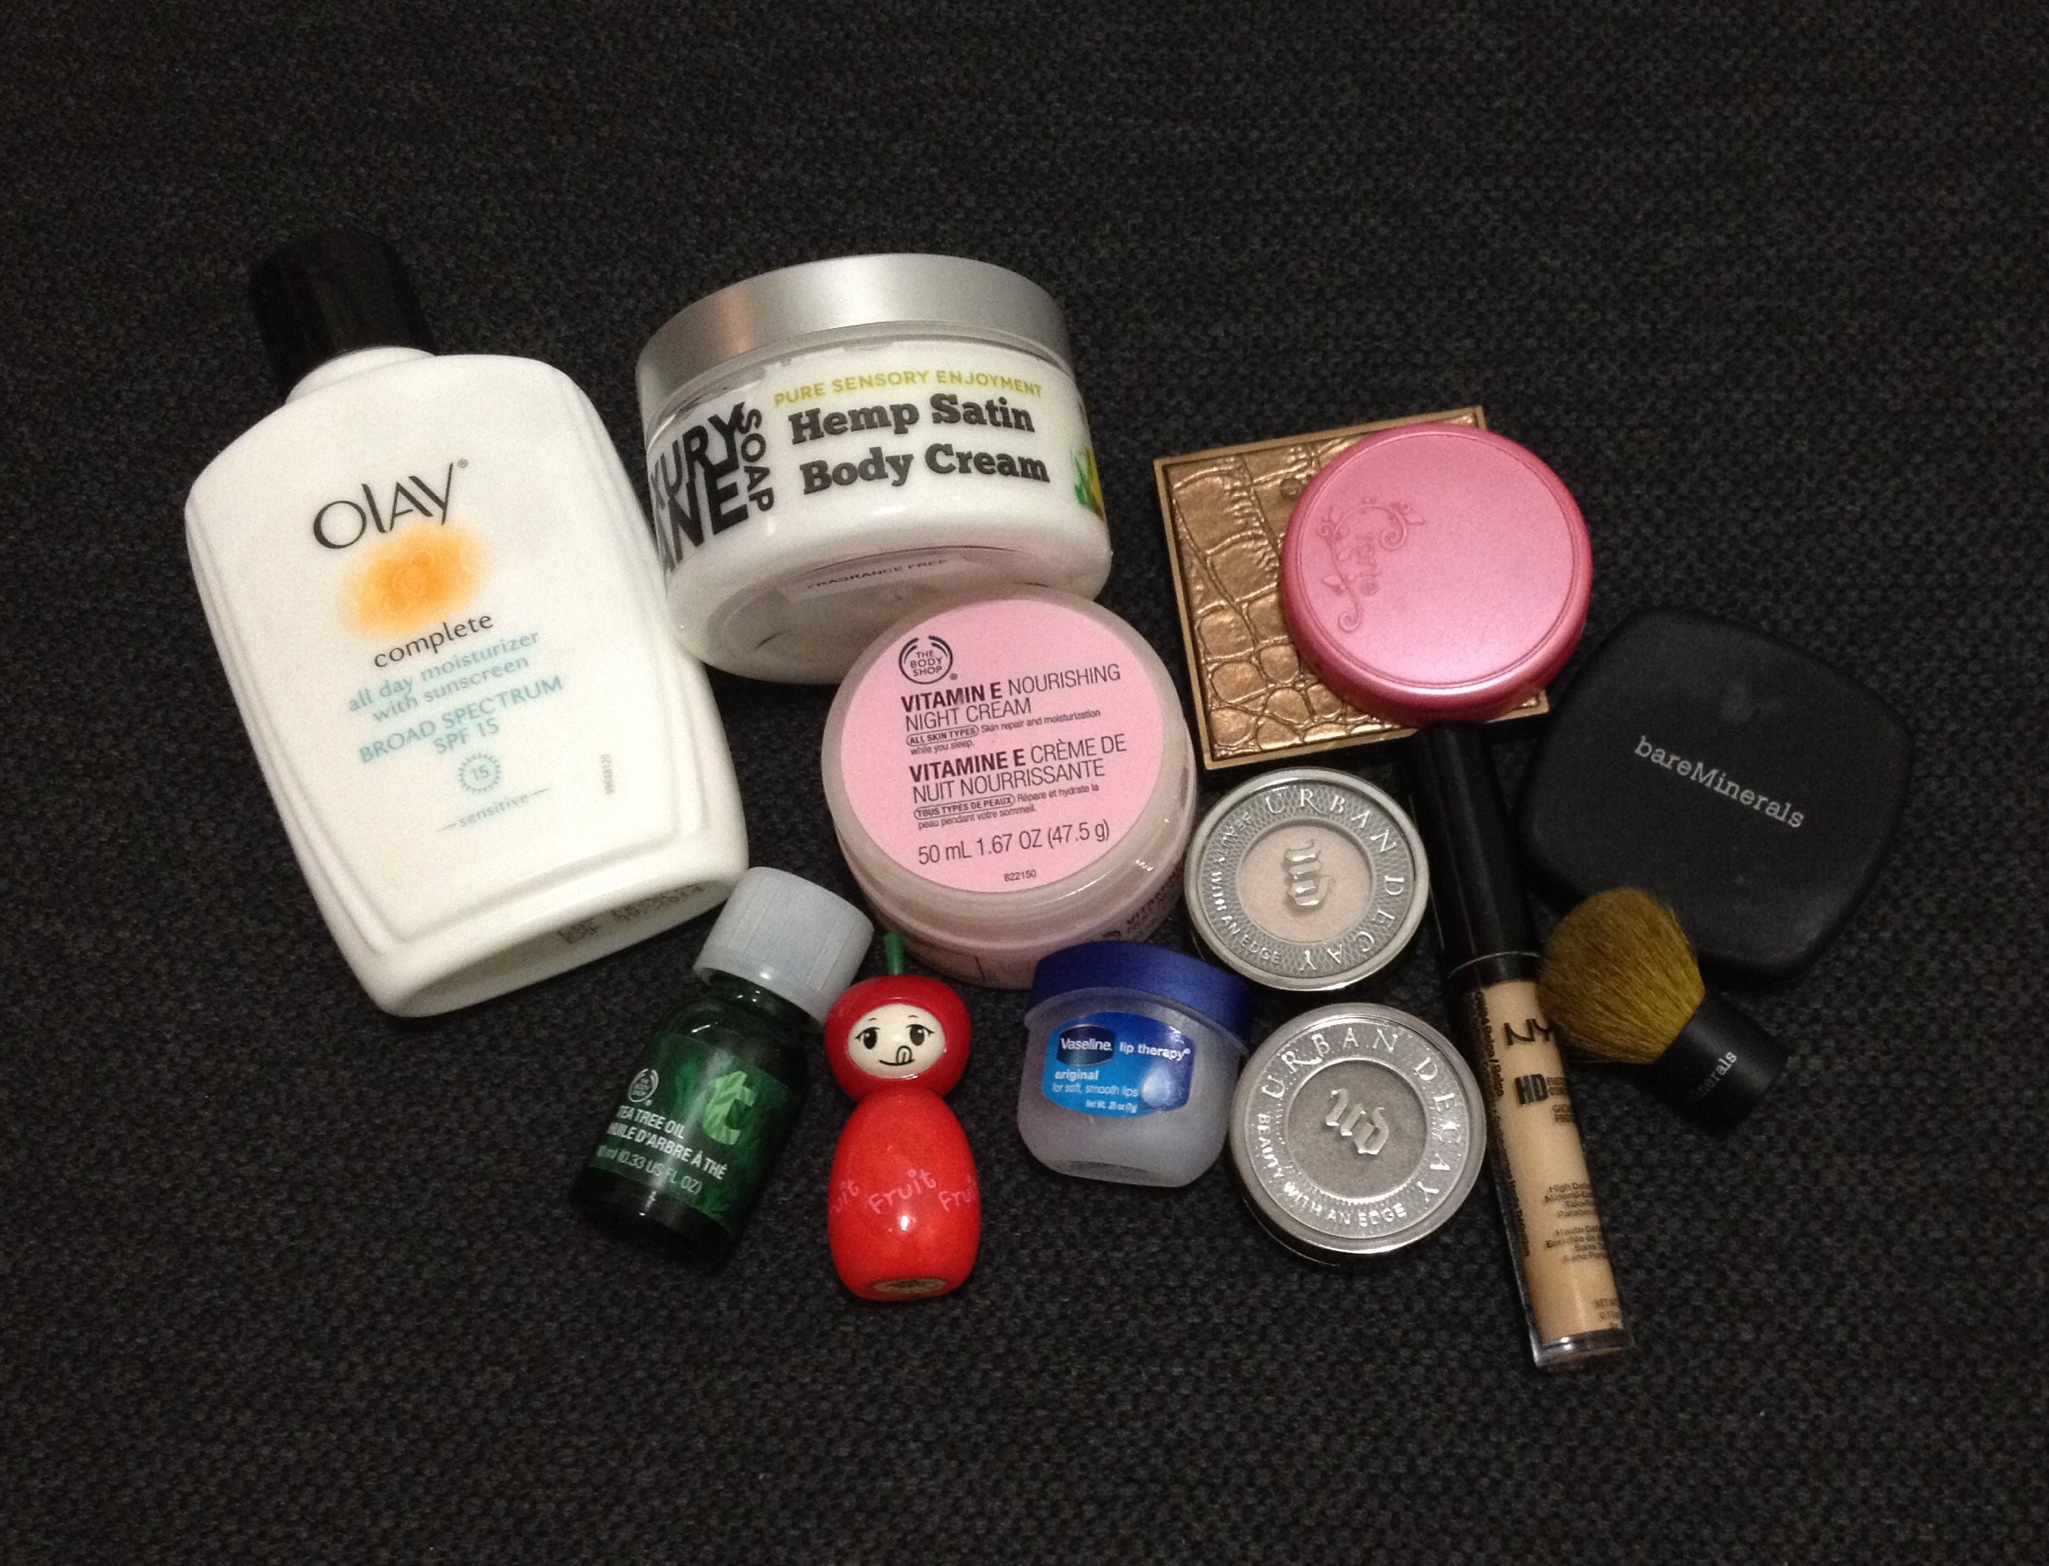
I recently went on vacation and I found one of the hardest thing for me to do was pack my make-up. At the start of my packing attempt, I had about five palettes of eyeshadow, in addition to, all my other face make-up, which basically filled up a train case. Since air travel is a pain and having to make weight doesn’t make air travel easier, I manage to narrow down my shadows to two Kat Von D palettes, but I still had a bunch of scattered compacts for my foundation, bronzer, finishing veil, blush, concealer, and etc.

Ever since I came back from vacation, I’ve been looking for an “all-in-one” travel palette that wouldn’t take up a lot of space. Many brands have been coming out with a bunch of face palettes lately, but these “all-in-ones” never seem to contain everything I want. Even the bareMinerals READY To Go Complexion Perfection Palette didn’t have the colors I wanted. Furthermore, I have all of the items in that palette in their full sizes. So I don’t need to buy anymore foundation to clutter my vanity table. I have too much makeup as it is!

I figure the only way to have a perfect palette for me, is to customize it myself. I had thought about making my own magnetized free-style palette, but I’m lazy. Also if I customize things myself, I always end up spending more for some reason. Also lately I just don’t have time to do any craft projects..

I had thought about picking up the free-style palettes from Stars Makeup Haven since I’ve purchased from them before, but I decided to pick the Z-Palette because it has a window on top. I have several palettes from Stars Makeup Haven and they are well made, but it gets annoying that I have to open the palette each time to see which colors are in each palette. I don’t label these palettes because I interchange shadows in those palettes periodically depending on my mood.

Black_4U
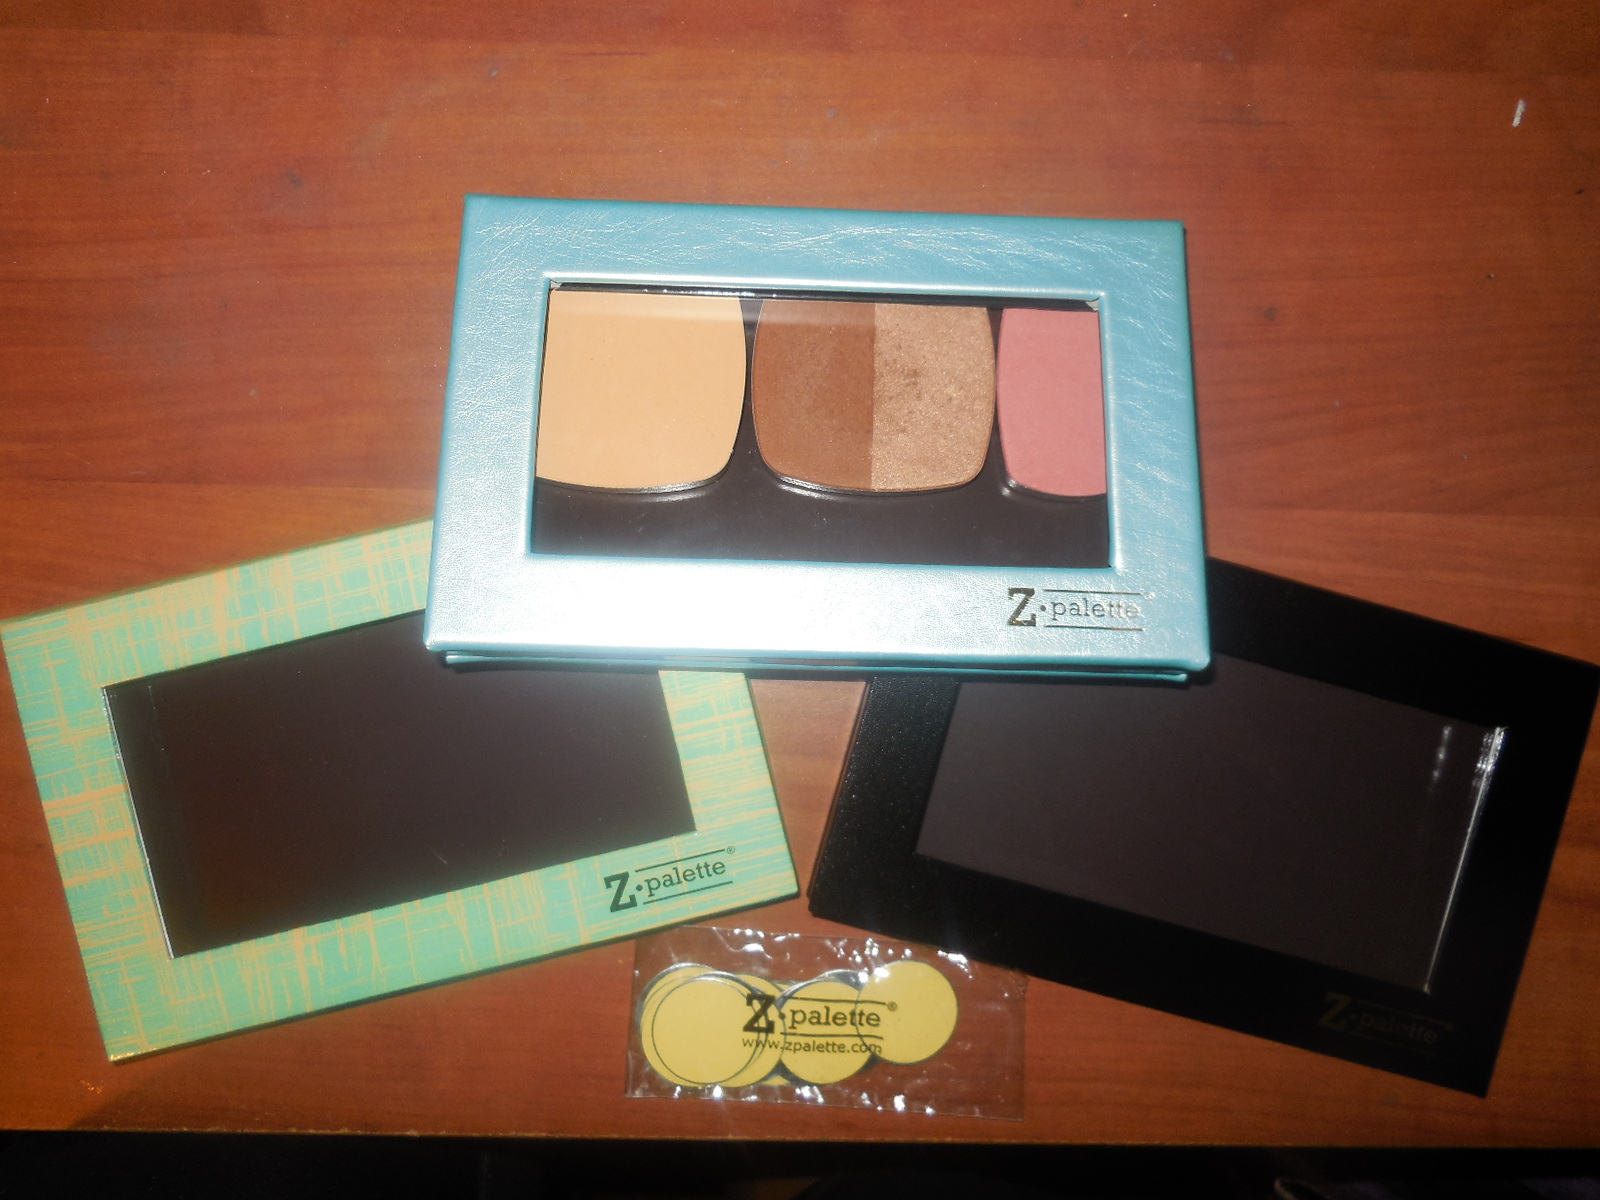
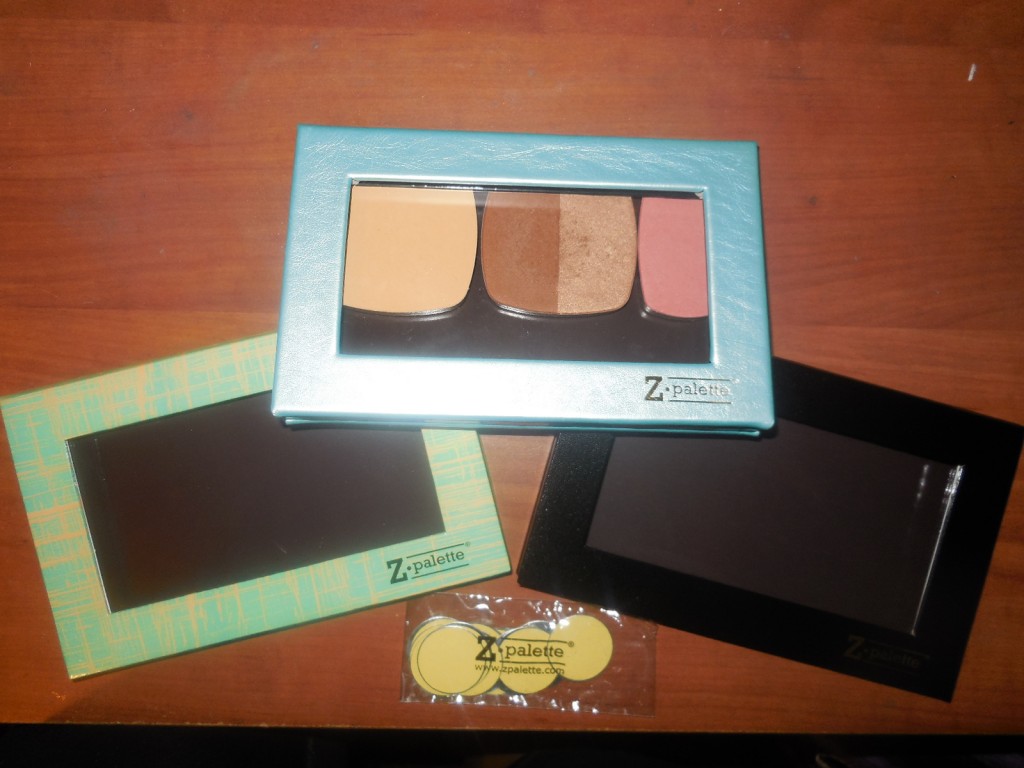
So I bit the bullet and ordered three Z-Palette 4U sizes (Black, Aqua/Yellow, and Faux Blue Leather)  since I was looking to make customized palettes for traveling. Also Beautylish had the Faux Blue Leather palette which was not available at Z-Palette.

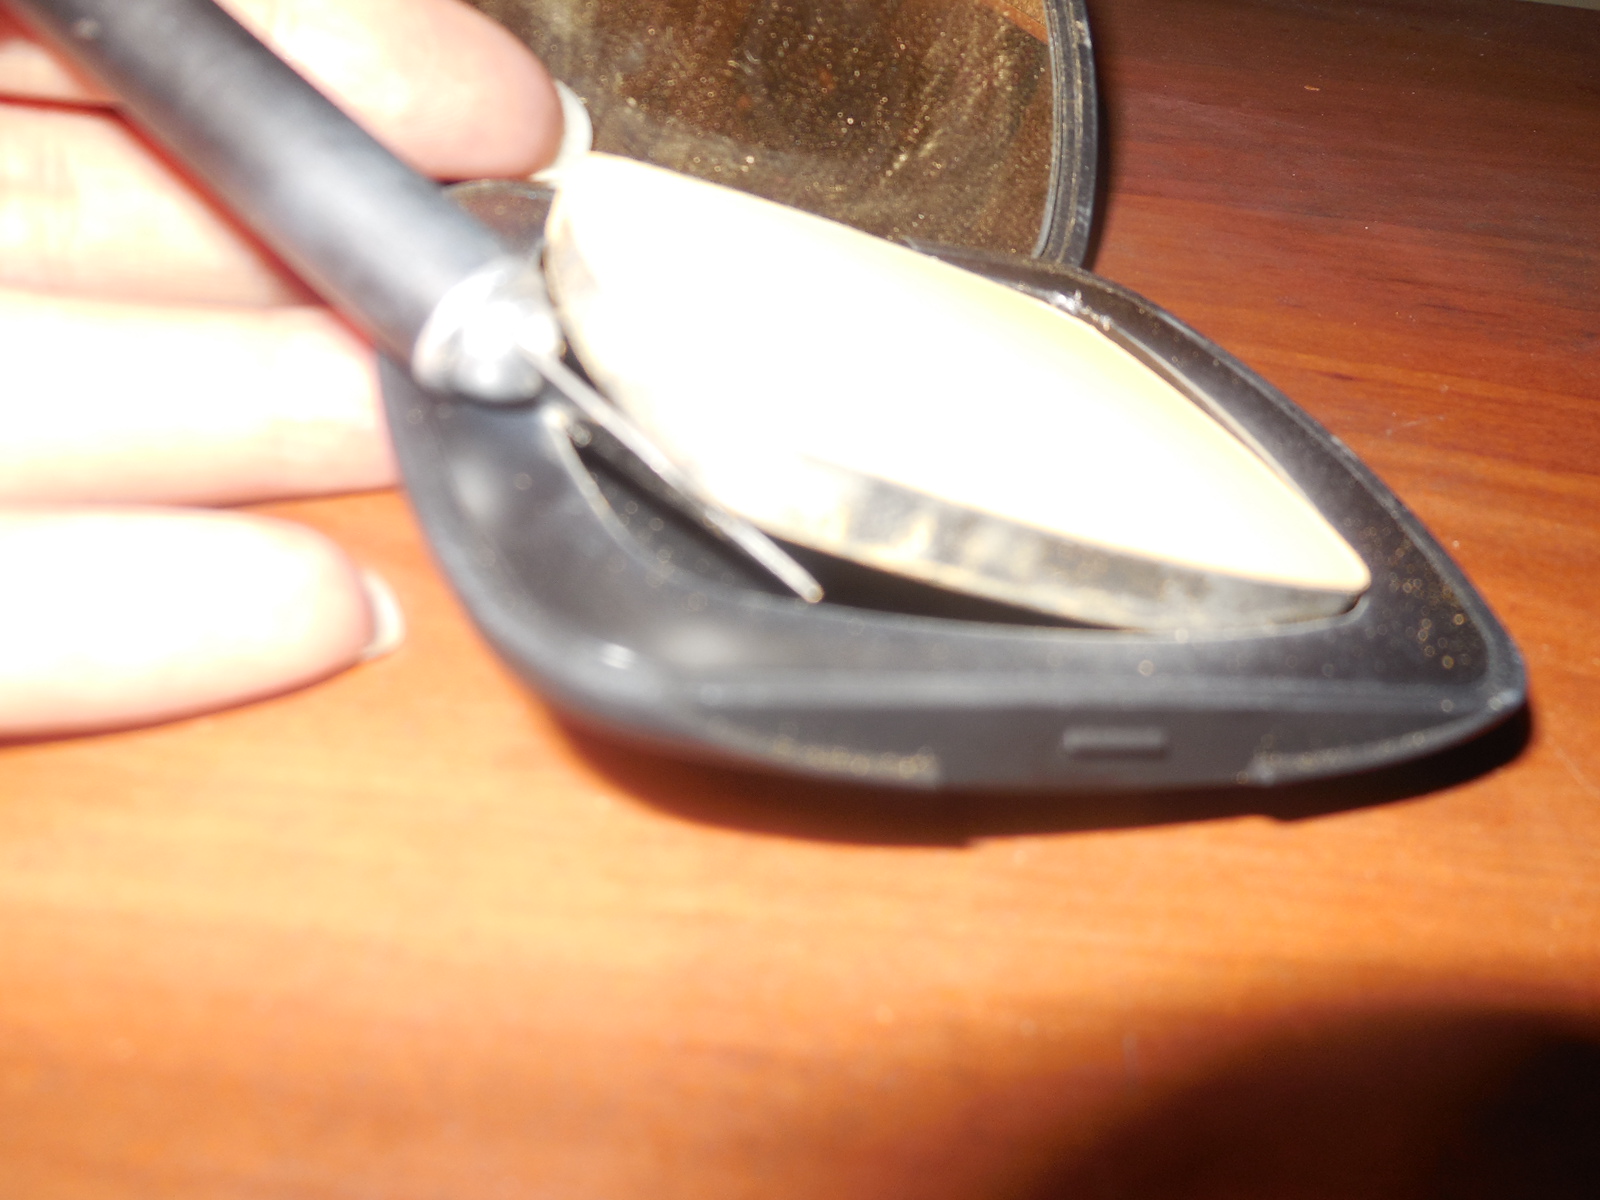
These Z-Palette are made of cardboard, but they are very well made and sturdy. They also have a nice glossy finish that allows you to easily wipe off any loose powder along the edges with a damp towel. The glossy finish also gives the palettes a sleek and cute look. The plastic window pane on the cover is also very sturdy and strong. Lastly, the magnets hold the cover down securely, and I’m not worried about the cover popping open when I sleep the palette into my purse.

Basically, these Z-palettes are very well-made and sturdy. They are definitely something I don’t mind depotting my precious makeup for, and I am someone who prefers leaving things in their original packaging.

Aqua-Yellow_4U
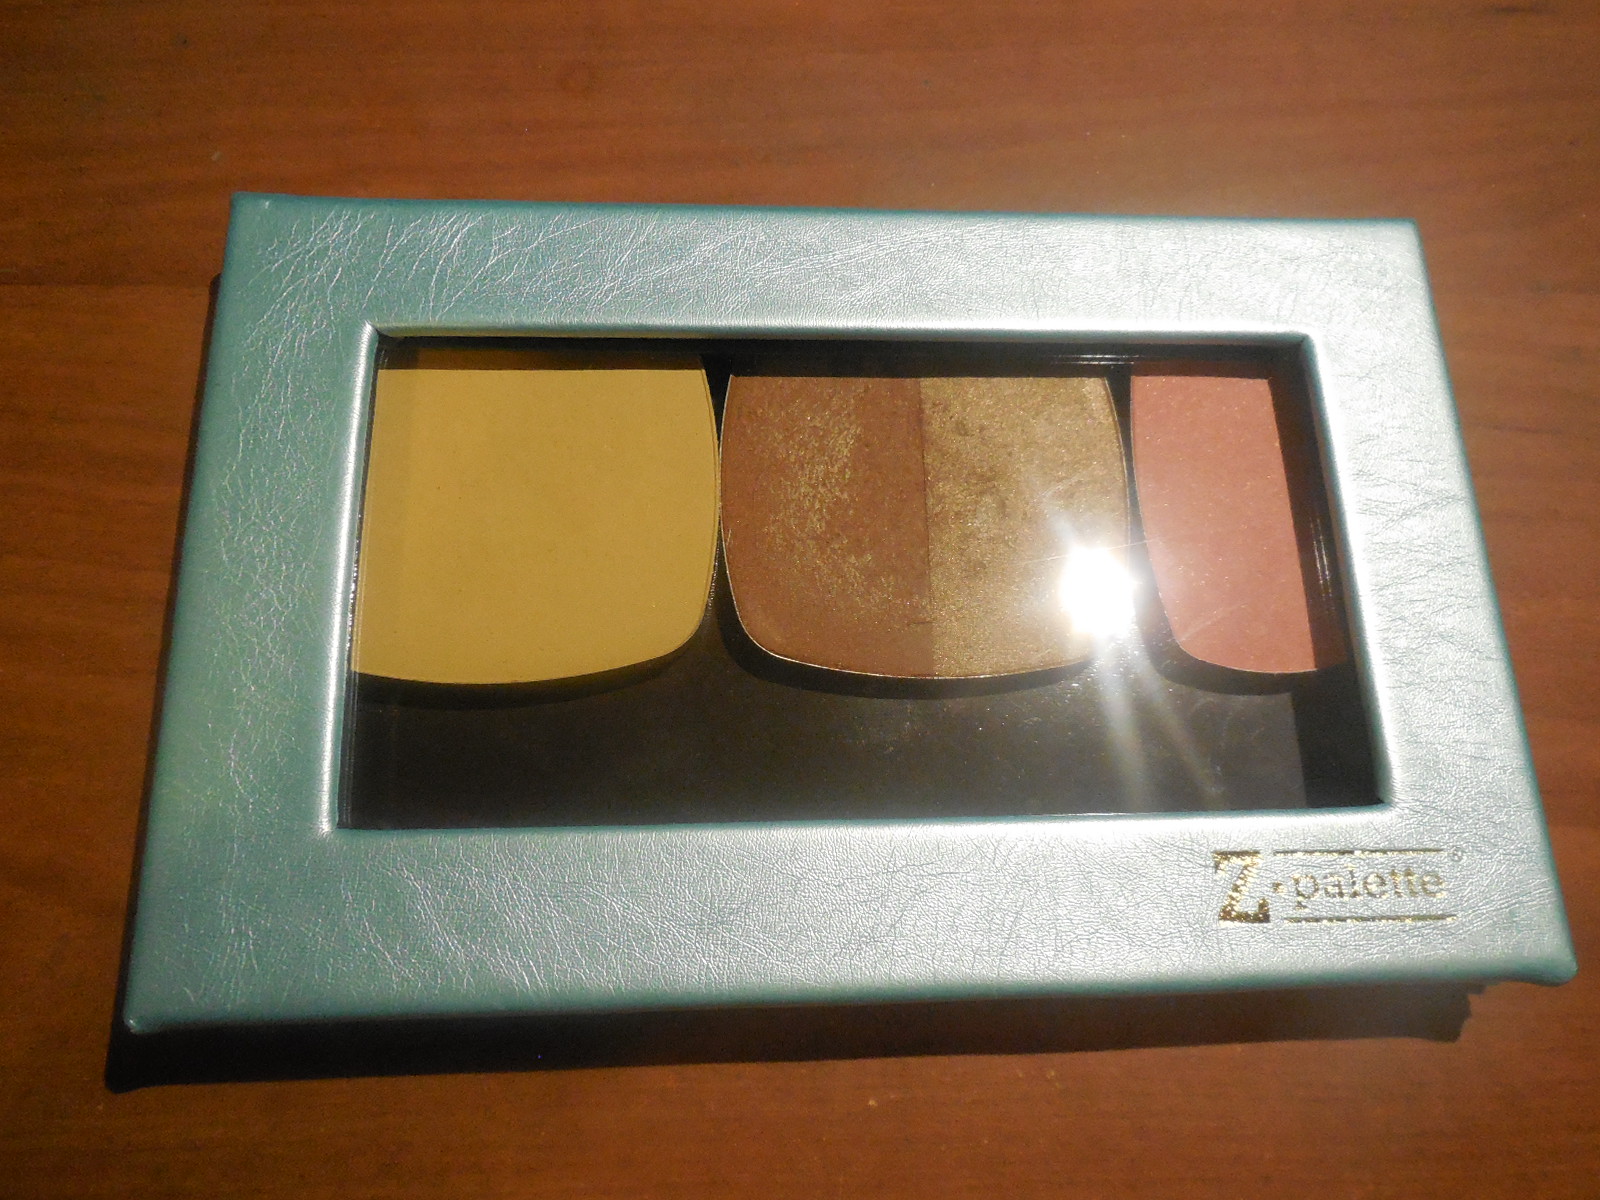
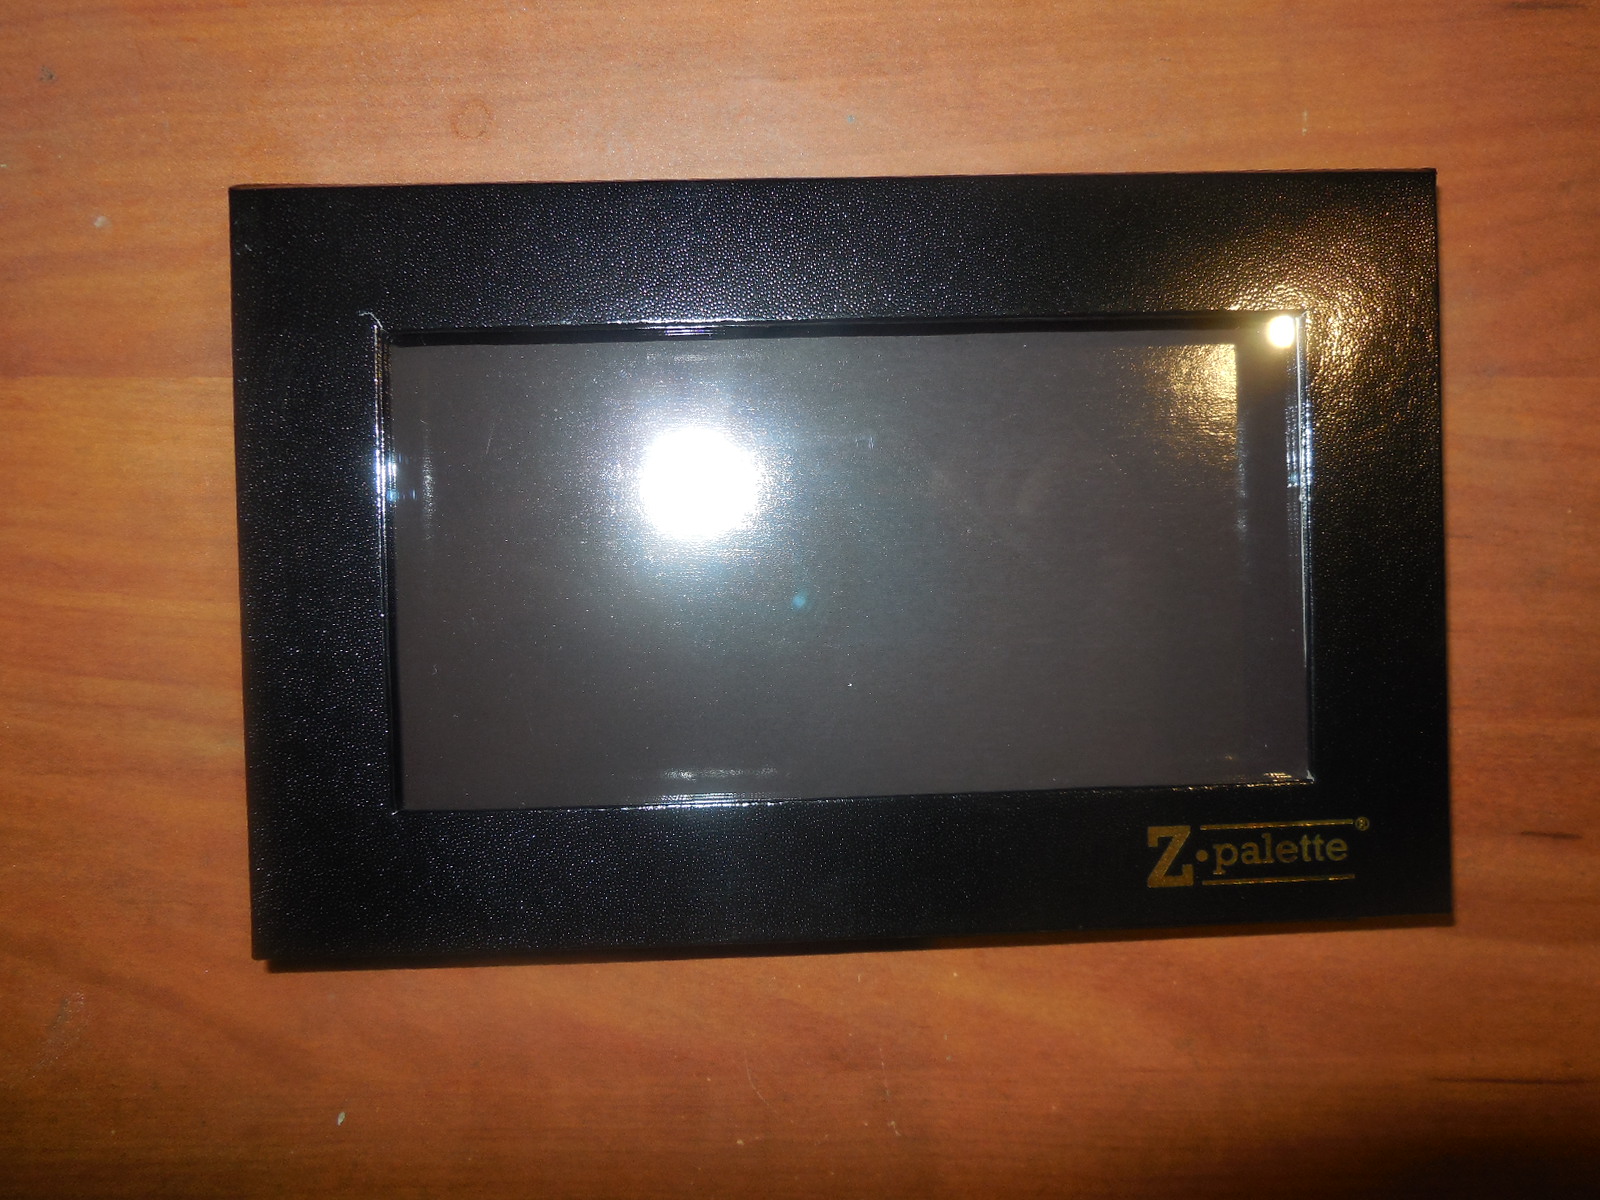
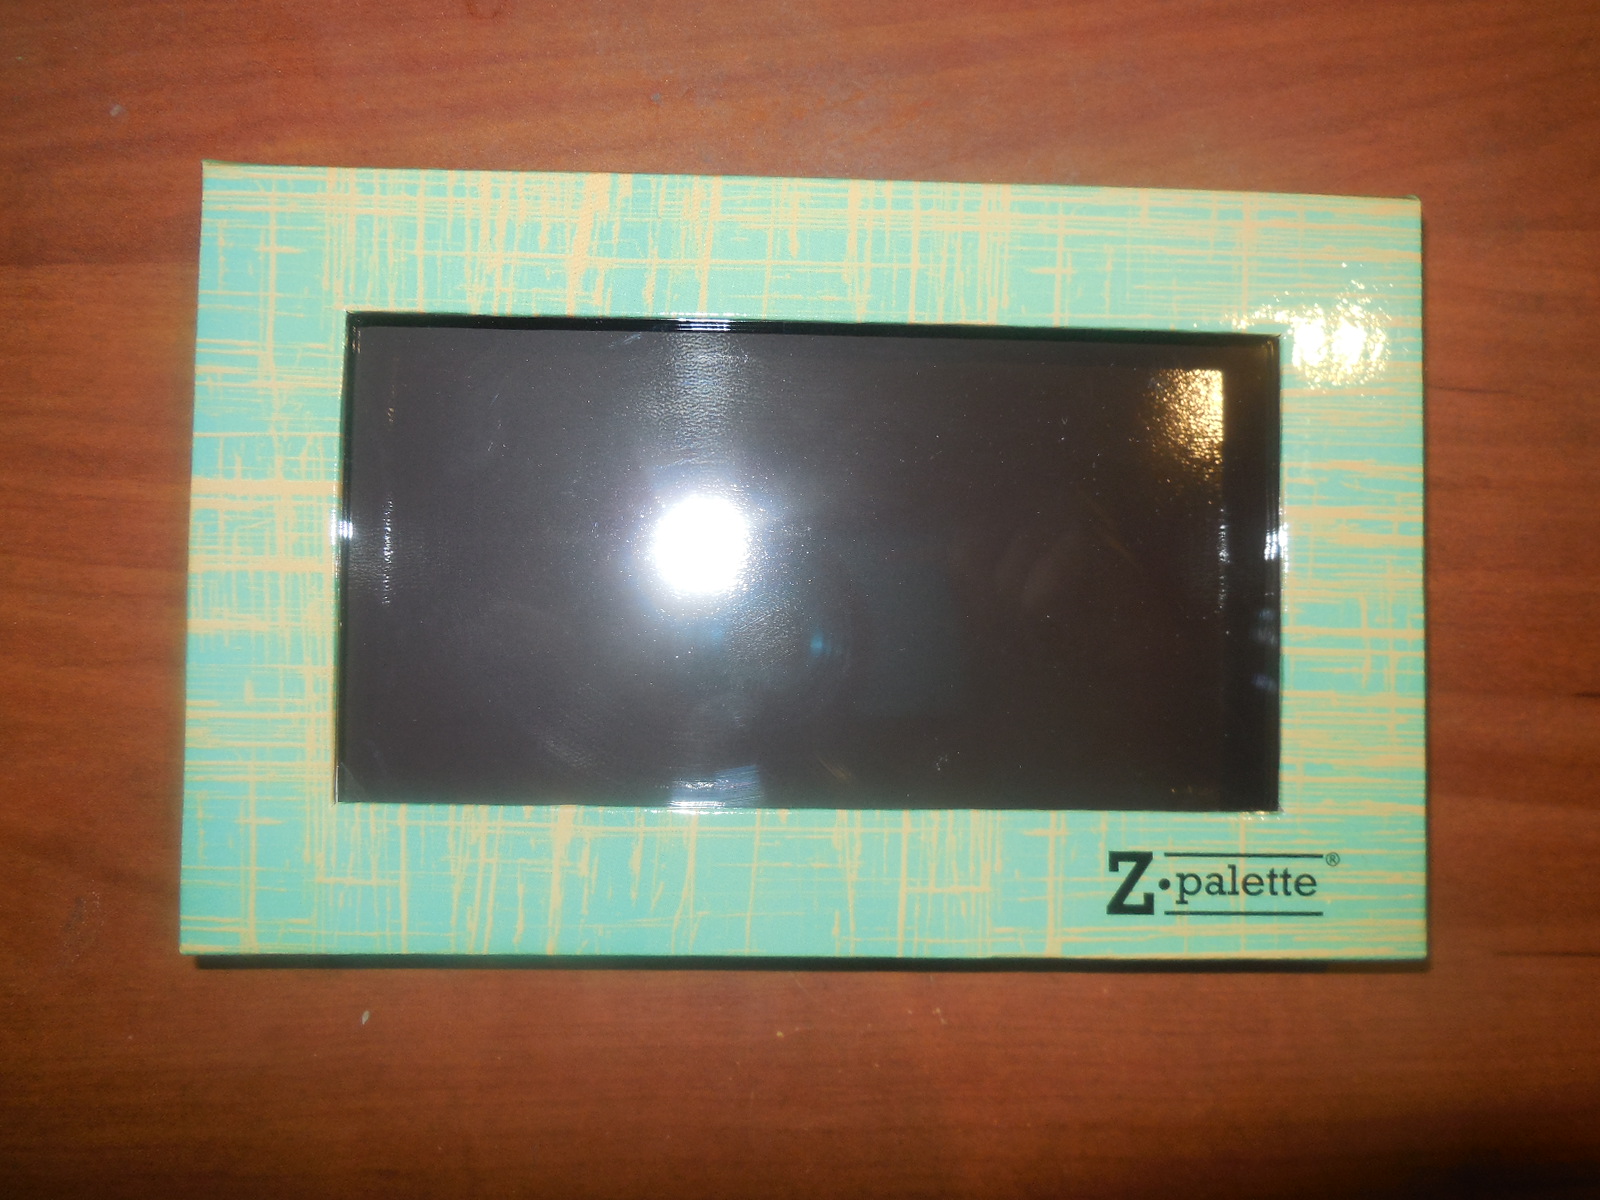
The black palette ($17) is perfect for a sleek and professional look. The Aqua/Yellow palette ($17) is a cute and fun pattern for us gals who don’t love pink. The Faux Blue Leather z-palette ($20) is slightly bigger in thickness because of the pleather and a bit more expensive than the two “regular” palettes, but the Faux Blue leather is beautiful. The material has a soft feel to it and the color has a metallic sheen to the baby blue color. It is probably my favorite of the three colors. I kind of wish there was large version of this color.

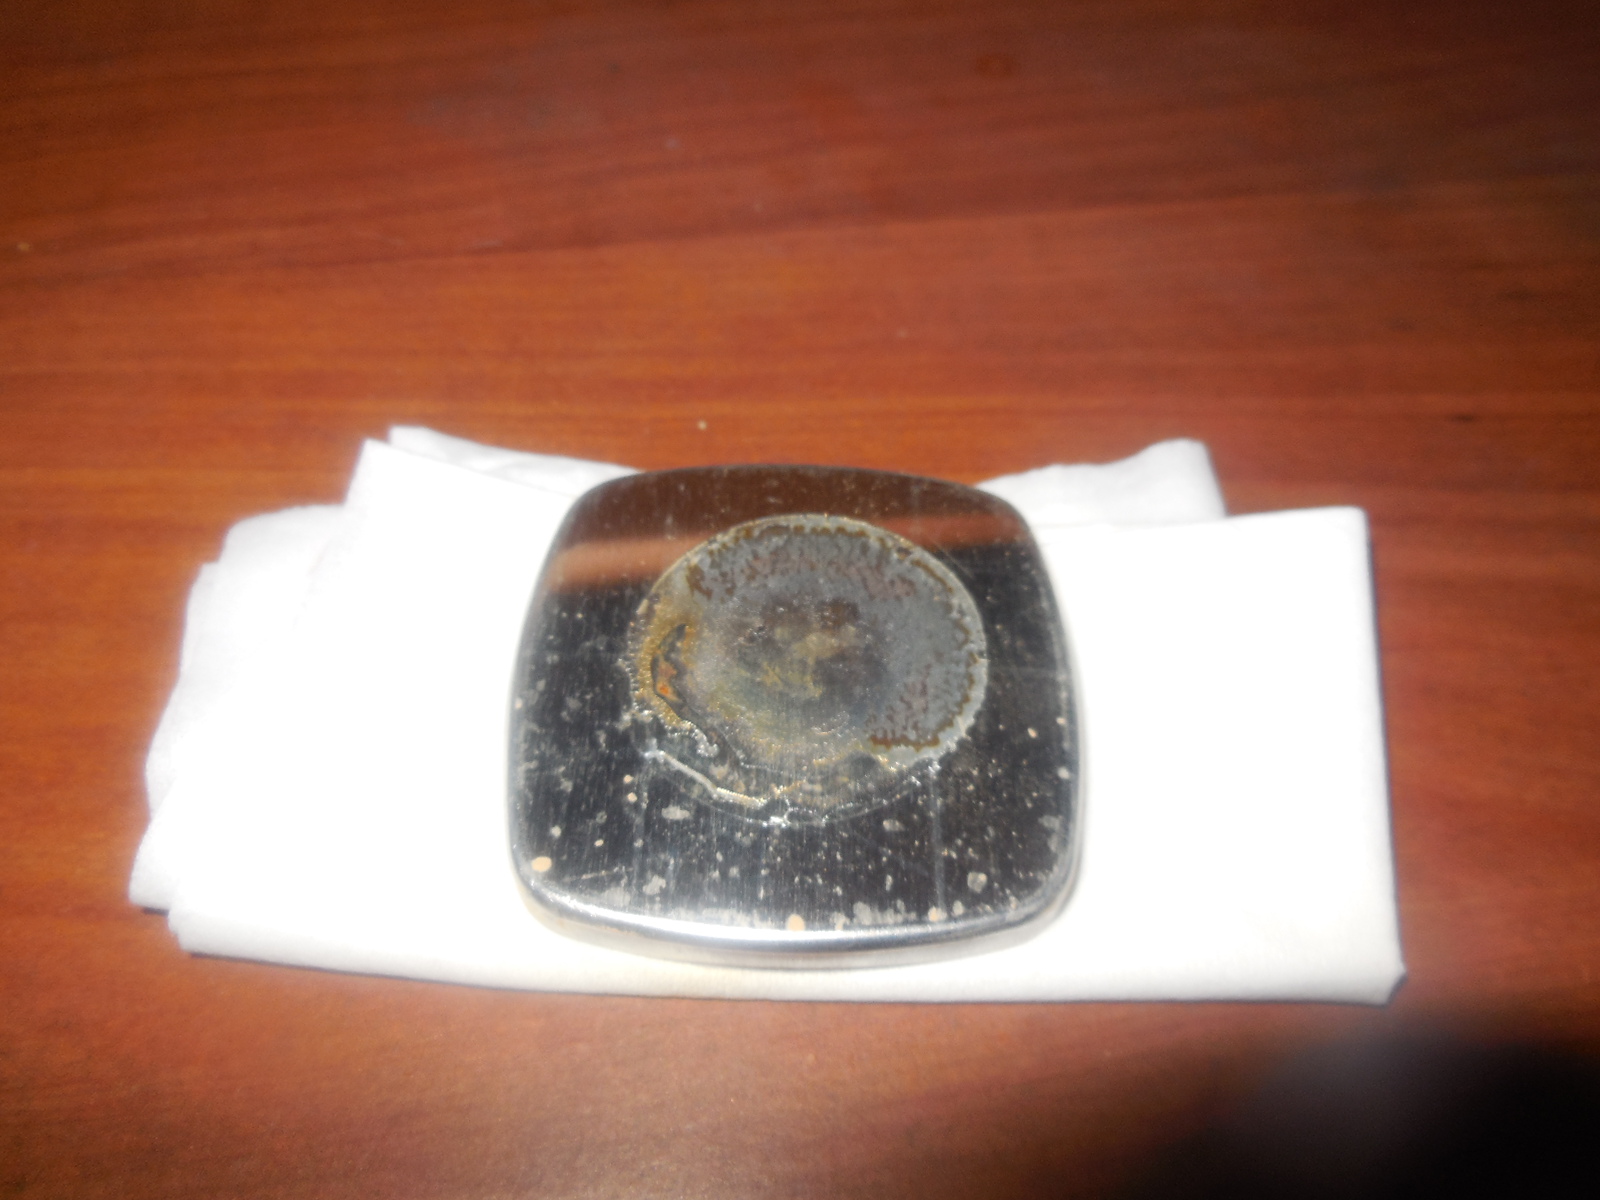
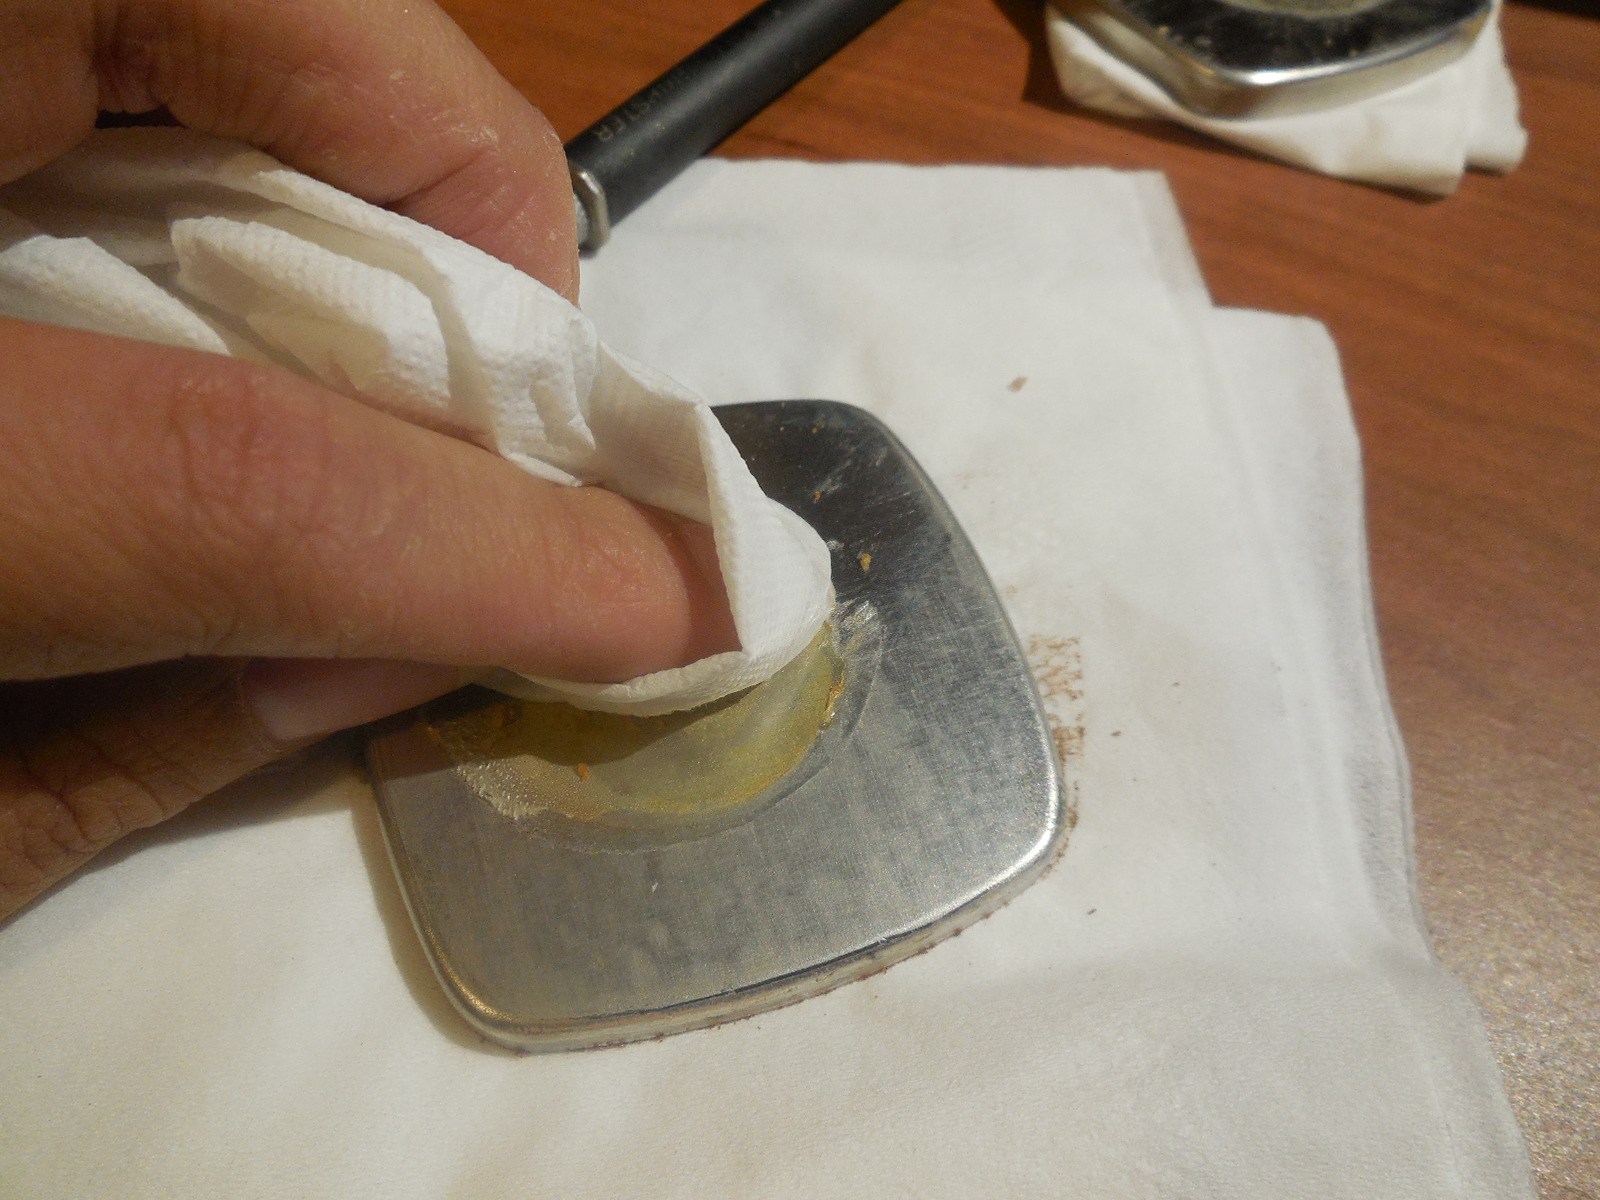
All of these palettes also come with 15 metallic stickers for any of your depotted shadows that don’t have metallic pots. Of all the things I’ve depotted so far, only one shadow had a pot that didn’t stick to the magnet.

Faux Blue Leather_4UAt first I thought $17 was expensive for magnetic palettes made of cardboard, but these palettes are so well made that I’m now a fan of these palettes. If z-palettes comes out with more designs that aren’t animal prints or hot pink, I’d spring for the larger size. I wish I had knew about z-palette when they had their limited edition Cherry Blossom palettes earlier this year. I hope they make more next year! I definitely would love to try out the sizes of their larger palettes.

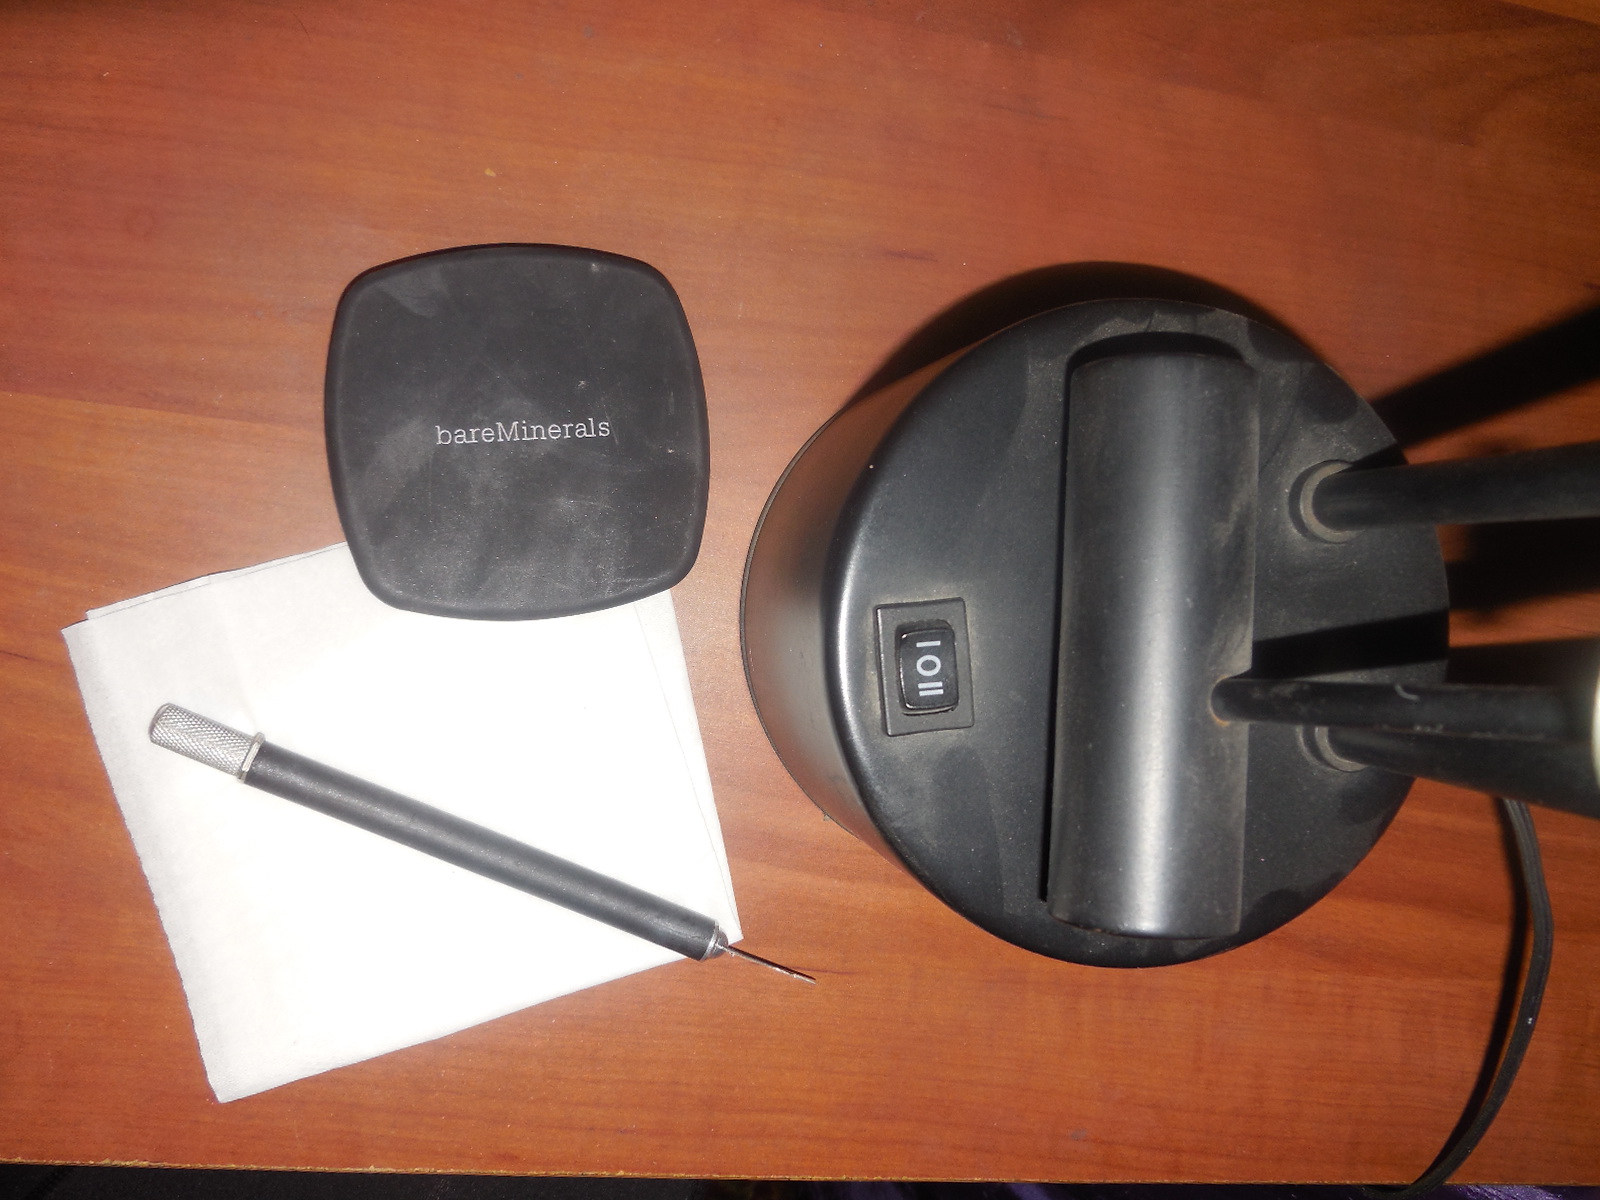
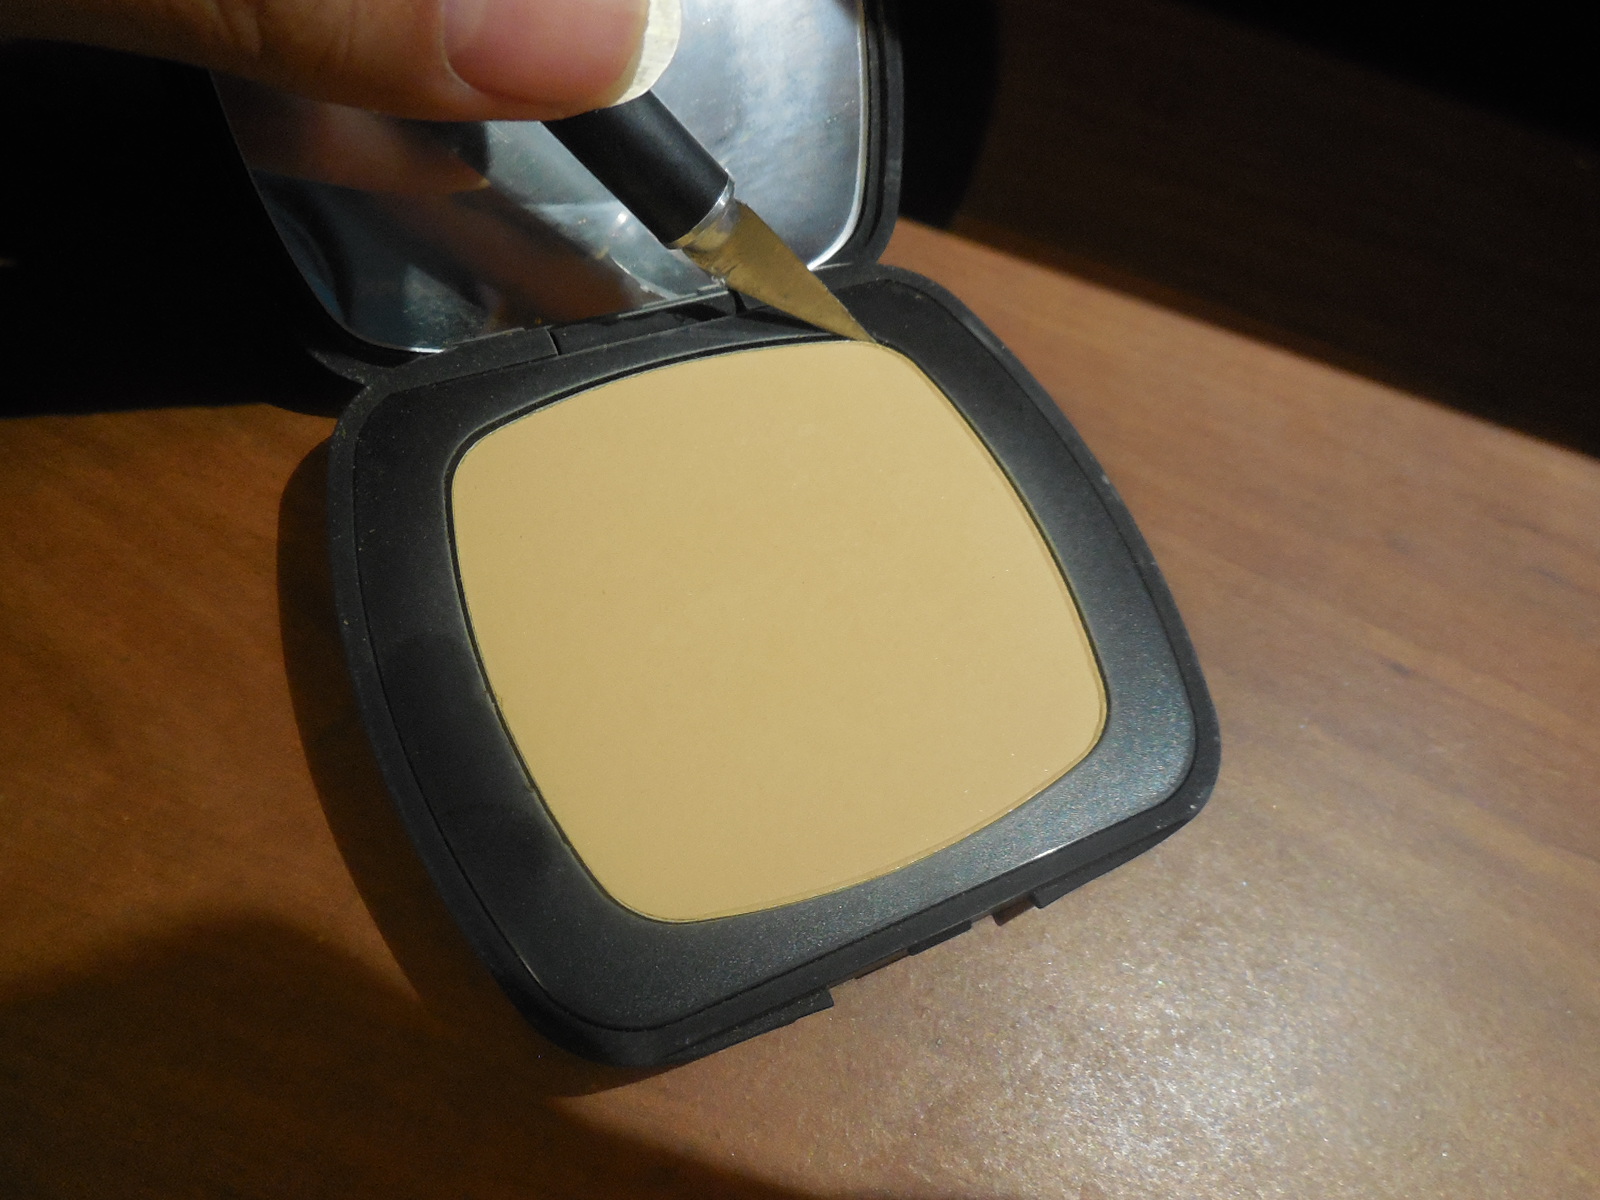
Now, if only Bare Minerals recycled their eyeshadow pots, I would be closer to having a manageable makeup stash.

Dimensions of the 4U Palettes:

Outside 6.25″L x 4″W x 0.56″D
Inside 5.56″L x 3.25″W x 0.25″D

Z-Palette Open

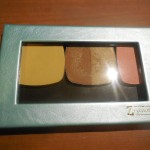
I fit full-sized bareMineral READY foundation, bronzer/ luminzer duo, and blush into one 4U palette, and I still have room for a several eyeshadow pots at the bottom.
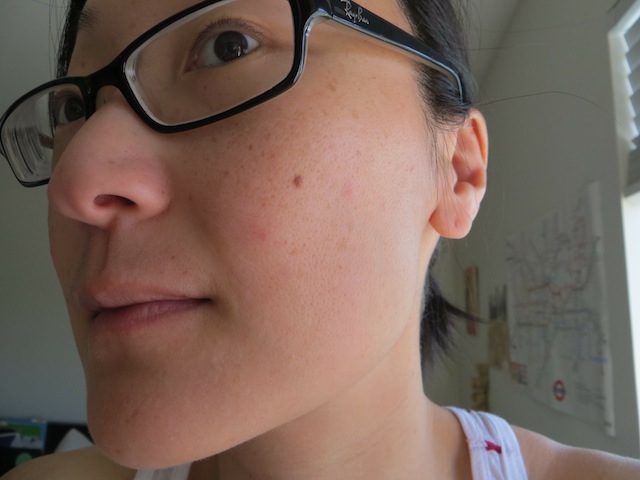
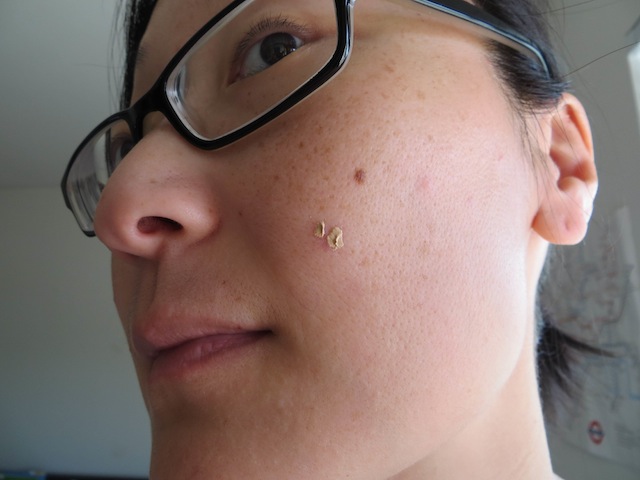
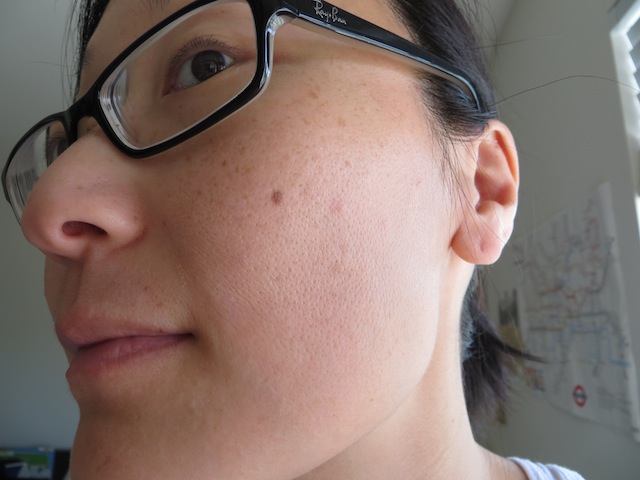
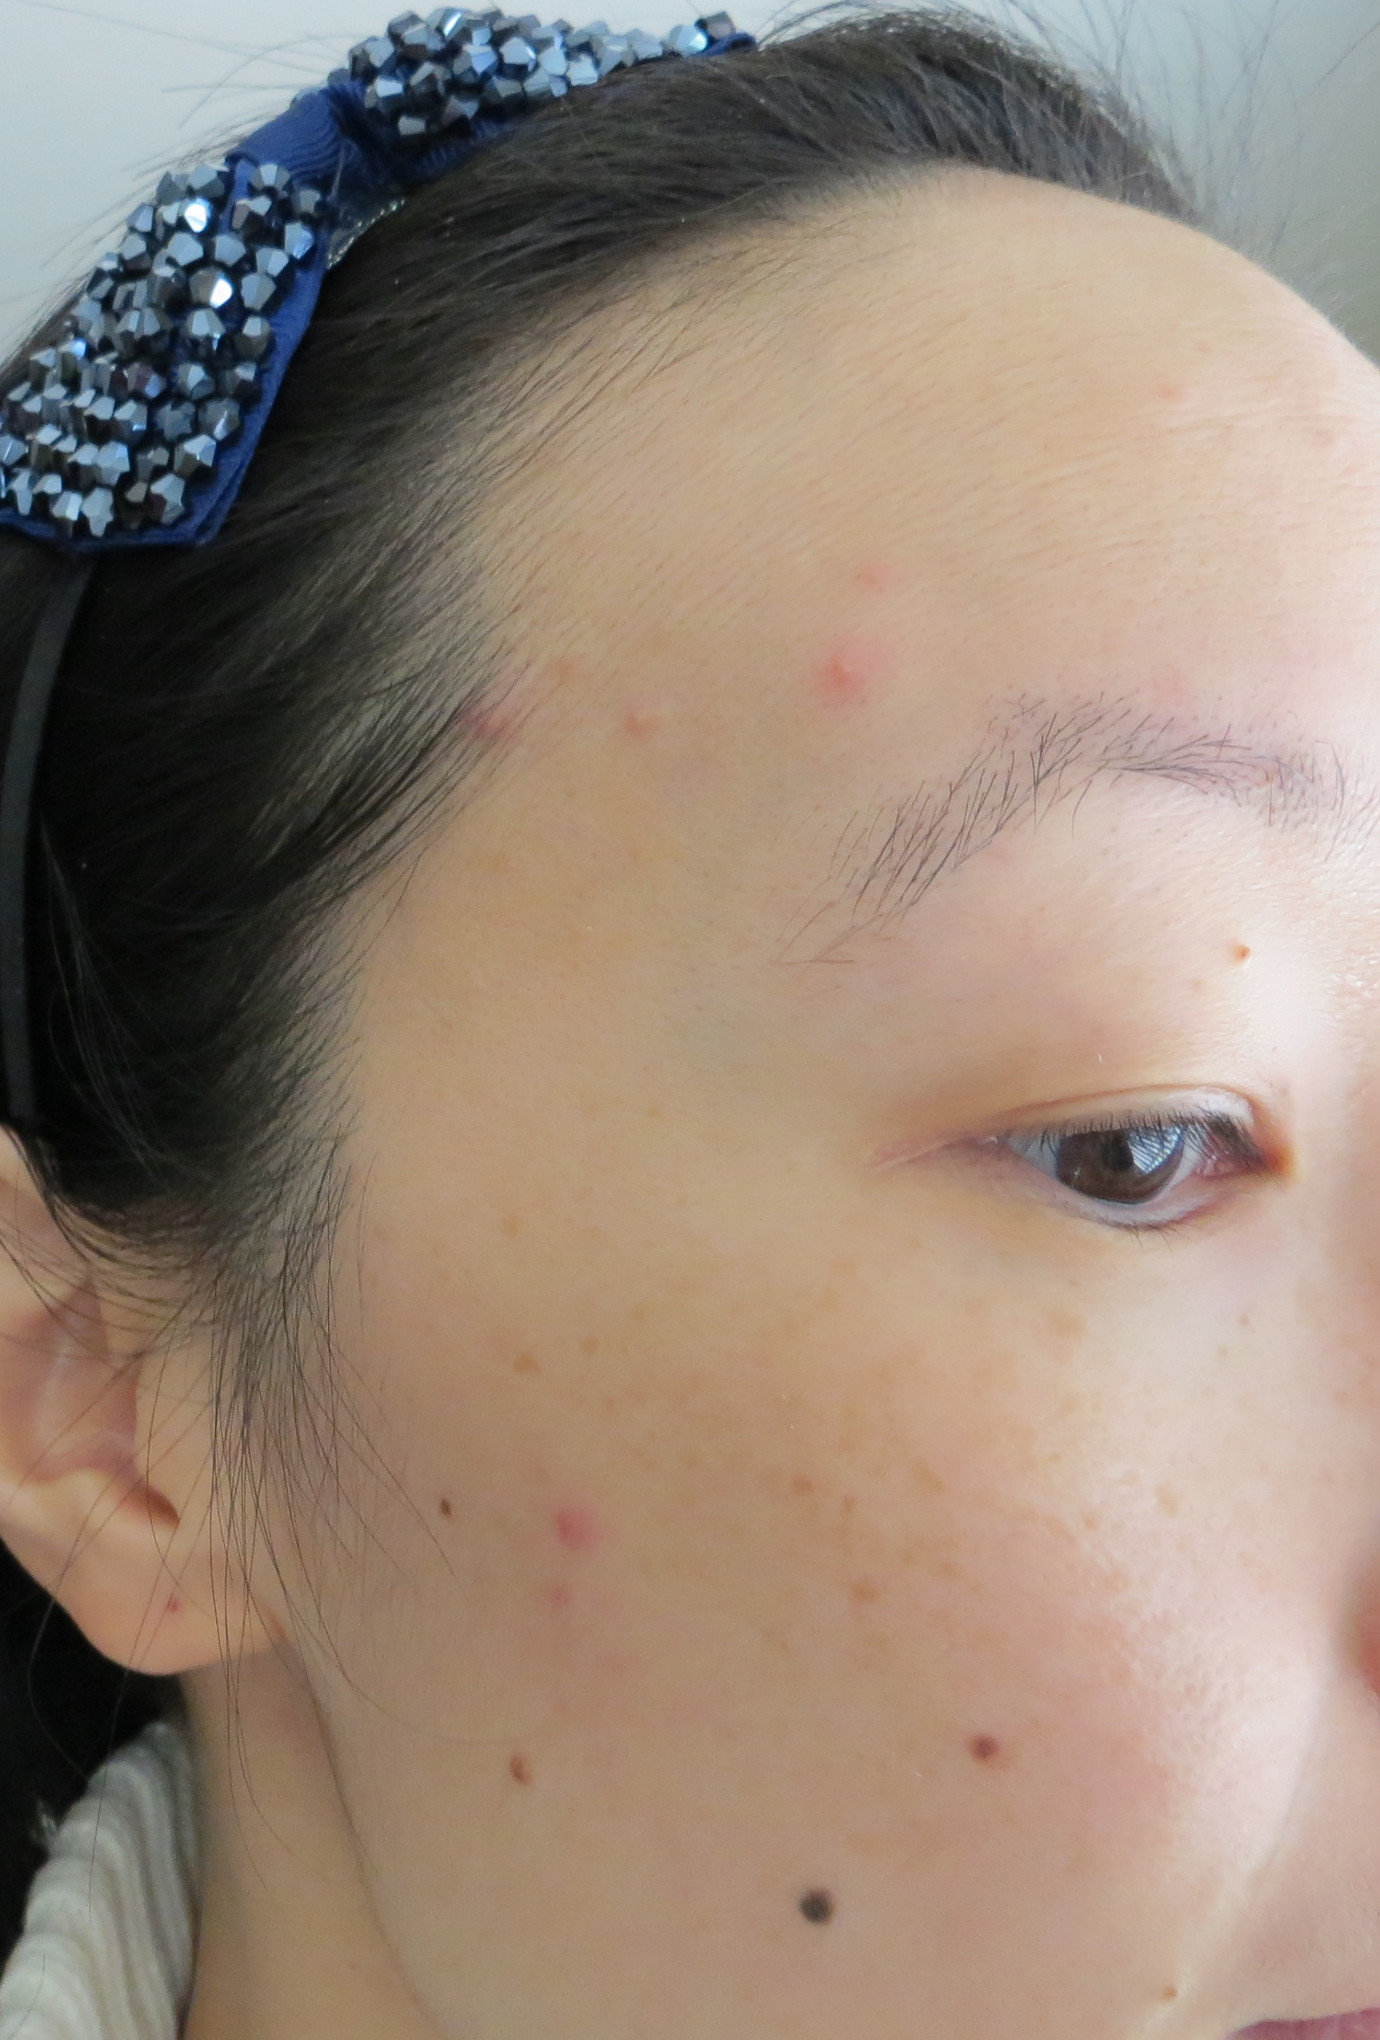
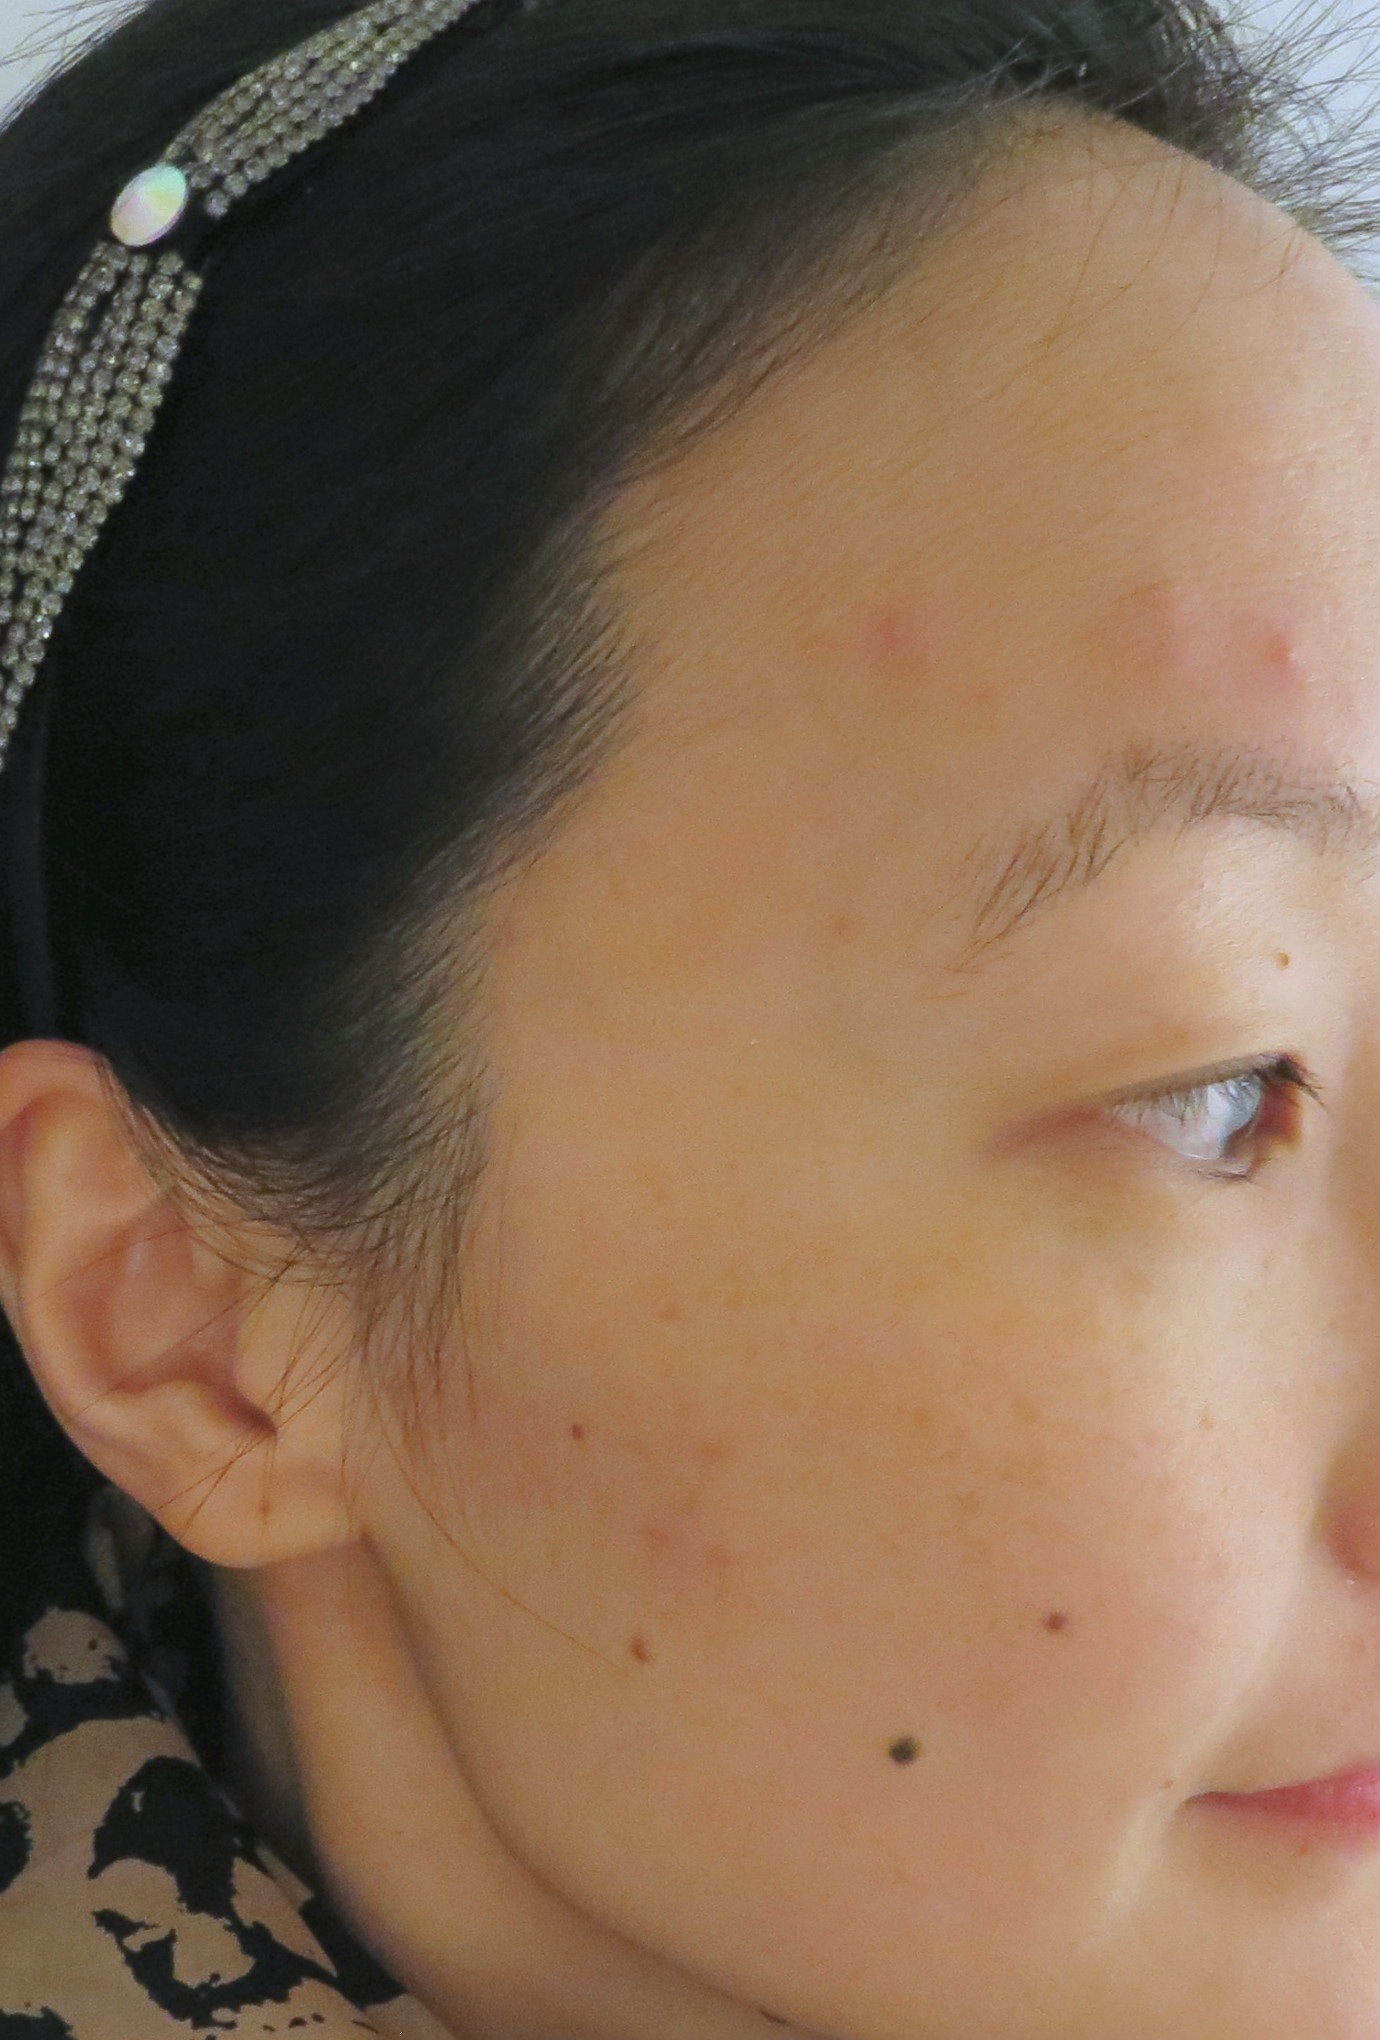
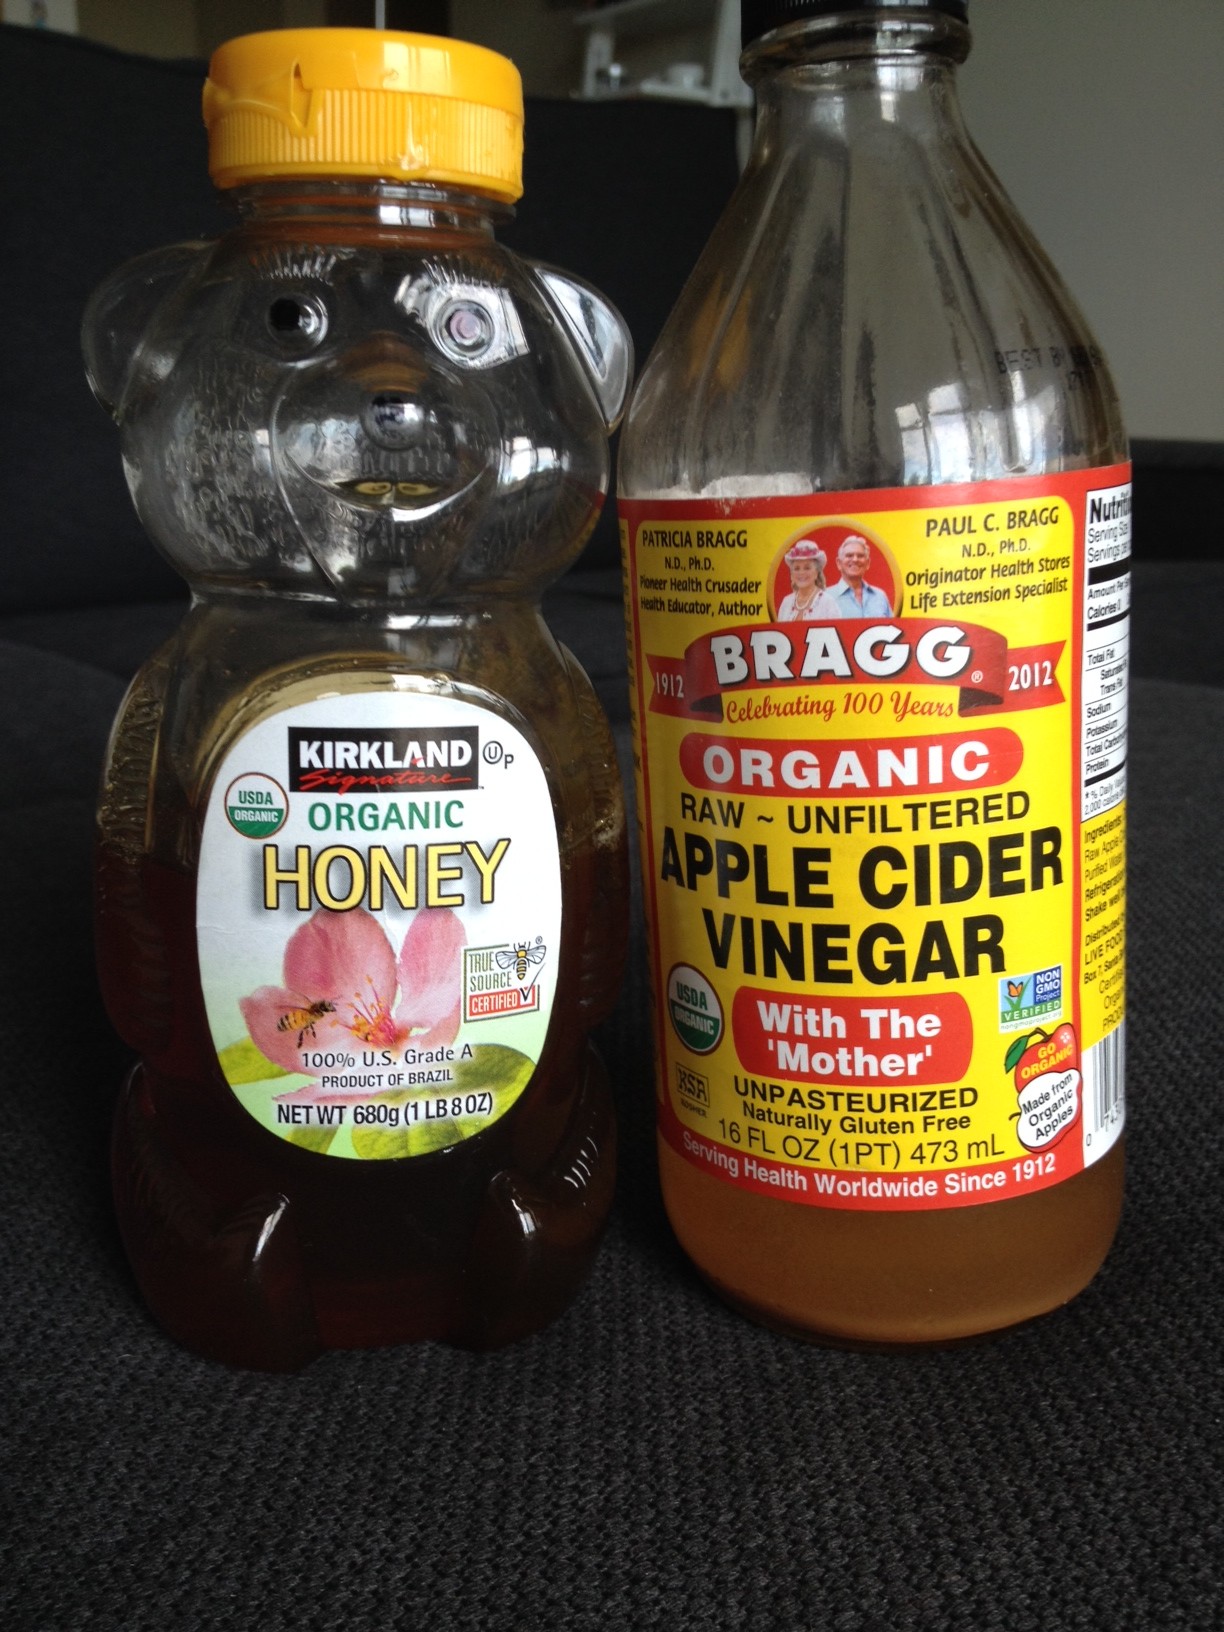

0

I’ve been looking for something to have on hand to make my acne appear less visible when they get particularly inflamed. I know I’m lucky and my break outs are not too horrible. Still, I can be my own worst critic and there are days where every little blemish seems full blown in my mind. I spotted the NYX HD Photogenic Concealer at my local Ulta store and favored the compact size. It’s a slim tube similar to lip gloss with a wand type applicator. I ended up buying it because I had a ‘$3.50 off any $10.00 purchase’ coupon from Ulta.

NYX_frontNYX_beigeNYX_wand

The NYX HD Photogenic Concealer became my go-to item during my travels in late May/early June. The formula boasts: “good for all skin types and softens lines. Its light diffusing effect is perfect for photos in the studio or taking pics with your pals!” I wasn’t so much concerned about photo taking as appearing fresh faced, especially for a couple of business meetings. I had some zits turning a bright angry red right by my brow bone and also above the corner of my eye the day before the meeting and was impressed that a dab of the wand and press-press-press made them appear less visible, without looking thick or cakey.

The pictures below show the coverage: I was trying to get a pimple right on my cheek.

Morning_face_pimplesMorning_face_concealerMorning_face_tadah

The good: I found the concealer to be well pigmented and provides ample coverage for fair skin so a little dab can provide a lot of coverage. The wand allows you to swab on the concealer and the creamy formula blends very well just using my finger tips. The beige color worked well to minimize the redness when I’ve to use green concealer from other brands.

The bad: Heavier coverage (like over a zit that’s prominent and protruding) will show. There’s also a very faint scent but I wasn’t particularly bothered by it. The concealer stays in place but does begin to fade after 3 hours our so.

All in all, I’m pleased with the NYX HD Photogenic Concealer. It retails for $4.99 and is available in 12 talc and paraben free shades. As of this posting, Ulta has a buy one get one half off offer. At that the price point, it’s a real bargain.


0

I’m very behind on reviewing Sephora’s Princess Collection, but I’ve just barely gotten around to using the Cinderella nail polish set, and the Jasmine set is already out and before you know it the next Princess set will be out. From what I heard, the next princess may be Ariel.

step off sister sun     step off sister inside

The first color I tried out was “Step Off, Sister!” This color consists of mostly blue and silver glitter. I’m not sure why the second picture (indoor) has the polish with a pink hue, but it is blue and silver. The first time I did this manicure, I used three coats and a clear top coat, but that manicure only lasted one day before chipping.

Since I really liked the color, I decided to give the manicure another try. This time I used Orly’s base coat and topcoat along with three coats of “Step Off, Sister!” This time the manicure lasted two days before I noticed some very minor chipping around the nail tip edges.

As much as I liked this color, I still need to have at least three coats to get the glitter close to the bottle, and this makes the polish chip easily. Maybe next time I’ll use this polish as a top coat for a color polish and see how that goes.


0

I’m a sucker for cute packaging, so when I spotted the bunny ears and smiley faces of the Tony Moly Petite Bunny Gloss Bar, I just couldn’t resist. Since the Tony Moly brand is from South Korea, you have to look for websites that sell Korean cosmetics. I ended up buying mine from eBay, mainly because the price was more reasonable (re: affordable). As a note: counterfeit cosmetics do exist, particularly those that are highly popular and sought after. I did my due diligence to scope out the seller–established sales, customer reviews, total number and variety of items on the shop, etc.–before purchase.

My eBay purchase included the two Bunny Gloss Bars (number 03 Juicy Apple and 09 Neon Red), along with some other things that I hope to review at a later time. I got the goods delivered promptly (a little over a week) and everything was packaged very tidy in a small box. The individual gloss bar measures 4.5 in / 11.43 cm, which fits into the palm of my hand easily and the bunny ears gives my thumbs a gripping point when carrying. Both gloss bars had a label affixed on it that had a bunch of tiny Korean text which I could only make out the bar code and 03 or 09 numbers. I’ve read that Korean cosmetics have manufacture dates on the product, but I found imprinted on the bottom of the tube “EJN 20150912” followed by Korean text. I’m guessing that’s the use by date?

bunniesfrontbunnies_backbunny_exposedbunny_exposedswatch

When uncapped, I noticed the scent of the gloss bar. I didn’t so much smell the 03 Juicy Apple, but for some reason 09 Neon Red had that sweet cherry-strawberry flavor reminiscent of children’s lip balms or cough medicine. The actual gloss bar is a creamy column that extends to about one inch via twisting the bottom tube, which I suppose is an average amount of gloss when compared to other lip products. I had some difficulty getting the 09 Neon Red bar to retract and ended up having to use my finger to gently press it back inside the plastic tube.

As far as the color: it’s actually rather sheer; you have to add a couple of layers before the color becomes really noticeable. The samples I swatched on my arm had a good 4-5 applications for the color to appear. And when I look at the 2 colors side by side, they do look rather similar, though this could be due to the lighting as I took the pictures rather quickly in the car during my lunch break. I found the actual application on my lips a bit on the greasy side for the 09 Neon Red. The texture is buttery soft and applies smoothly, but I didn’t find it to be moisturizing or very long lasting.

Overall, the Petite Bunny Gloss Bar is a combination between gloss (goes on in a shimmery-sheer fashion, but not exactly moist), and colored lip balm (bar that applies smooth and gives a touch of color). The product lists for $8.00-15.00 depending on which website you visit, but I paid $5.75 per shade from eBay. This was definitely a splurge purchase, based purely on the cute factor of the product packaging. There are a total of 9 shades but I’m not sure I would buy the remaining 7 shades.


0

A while back I did a review on the Neutrogena Wave Sonic. After I ran out of the regular “Deep Clean” (original) pads, I decided to try out the exfoliating pads.

Original / Exfoliating

original vs exfoliate front


Top

The exfoliating pads are round cotton pads like the original deep clean pads. The only visible difference is that the surface is not as soft or fuzzy as the deep clean pads, and there are orange colored dots on the top for exfoliating.

The top and bottom of the exfoliating pads are easier to identify than the deep clean pads because the surface with the orange dots is the top, while the surface without the orange top is the bottom that attaches to the Wave Sonic head.

original vs exfoliate back

Bottom

Unlike the original pads, the exfoliating pads do not have much of a lather. However, as advertised, it does exfoliate your skin more than the original pads. I didn’t find the exfoliating pad to be rough, but I wish it had more of a lather to it like the original pads.

As I mentioned before, using the Wave Sonic can get expensive because of the refill pads, so I tried to experiment and used regular cotton pads and face wash, but to my dismay it didn’t work. The cotton just did not grip well to the attachment head, and the cotton pads left cotton filaments on head and it was difficult to clean off and kind if ruined the grip of the head.

This resulted in me not using the Wave Sonic much, but since I still have pads left, I still use these for exfoliating once in a long while.


0

IMG_0637 IMG_0649I am so impressed with Grandma Minnie’s Oil’s Well Nurturing Do-It-Oil. There are just two ingredients–USDA certified organic virgin coconut oil and monolaurin (antibacterial agent found in coconut oil)–and as the packaging indicates, a wide variety of uses. The 9.47 fl oz / 280 mL bottle comes with a pump and a scoop because the oil does solidify in cool temperatures. Not to worry though, because the oil warms up easily (place the bottle in warm water) and literally melts with your body temperature. The consistency of the oil isn’t exactly buttery smooth, but looks slightly grainy. There isn’t anything that is abrasive at all though, and the oil absorbs quickly into your skin, leaving a faint layer of oily residue. And in the scent department, what I really like is that there is just the faintest scent of coconut, nothing else.

My skin feels so hydrated and smooth after application from head to toe. The pores on my face don’t appear as large and my break out blemishes are not as unsightly red. The skin around my waist and hips–which get rather scaly dry during the winter–is much less irritated. And it has worked wonders at diminishing the bruises on my legs and softening the rough heels of my feet. I’ve also used the Do-It-Oil to tame flyways, sooth nicks from shaving or paper cuts, for massages…this is an amazing multi-tasking product.

The 9.47 fl oz / 280 mL bottle costs $30.00 and is available from VMV Hypoallergenics or Dermstore. VMV Hypoallergenics has a 30% off sale through the end of Janauary-2013 so the Do-It-Oil is on sale for $25.50. I would definitely buy this product again.


0

A recent bout of adult acne had me stressing out more than usual over what could be triggering the bright red blemishes. Was it hormones? Diet? Stress? Travel? Trying out too many sample goods? All the above? In my search for a “magic” cure, I picked up the Vichy Normaderm Triple Action Anti-Acne Hydrating Lotion, mainly because there were so many positive reviews, including the 2011 Allure Breakthrough Award. At one point on the Vichy USA website, there was a feature video showing three individuals using the product and their before-and-after results, along with the user’s feedback about the product’s 3-in-1 effectiveness of clearing acne, mattifying, and hydrating. I thought that since I have gotten good results from other Vichy products, I may get similar good results with Normaderm also.

Alas, my impulse purchase did little to appease my want for the break outs to go away.

normaderm

normaderm

If I paid any attention to the ingredients listed, I would have noticed the breakdown between the active and inactive ingredients. For the former, the ingredient is 1% salicylic acid, which is a low concentration that has mild exfoliating properties to aid in removing clogging residue that may buildup in the pores. For the latter, water, glycerin, and alcohol are among the top three ingredients. Now alcohol has an overly drying effect on my skin, particularly on my T-zone area. When I pumped the bottle to dispense the lotion, I found that the formula was thick, but it also carried a very strong scent that I found overpowering. The scent reminded me of something you would use to clean the bathroom or kitchen, particularly when you want to remove heavy buildup or grease. This was rather disappointing since the other items I’ve used from Vichy have had such a pleasant scent.

After using the lotion for a month, I did notice that some areas of my acne did diminish while others did not; it was really a hit and miss. The break out pimples along my temple were noticeably reduced within a week’s use (applied once at night before sleep). Although I couldn’t quite see the blemishes any longer, I still felt tiny bumps along the skin when I washed my face, which signaled that not all of the bacteria deep in my skin is gone. And sure enough, just before That Time Of The Month, the breakout returned with a vengeance. The one big zit on the side of my cheek didn’t decrease at all and remained stubbornly bright red. In fact, since using the lotion, it has broken off and formed into three separate smaller blemishes. Hurrah?

day one

Day one

day seven

Day seven

One month

One month

As for hydration, the lotion goes on light and is not sticky, but at times continued application via rubbing motion would cause flaking like eraser shreds or similar to the peeling face masks I’ve used, only I don’t think the lotion is supposed peel! There was also a feeling of tightness along my forehead (see alcohol comment above), which really aggravated the pimples along my temples and made me want to pick and scratch at them, especially when I could see the nasty pus coming to the surface! (Popping pimples is a big no-no because of spreading the bacteria and scarring). On the upside, the lotion was very effective at mattifying and leaving my skin shine free.

If I had to rate the product on a five point scale with 0 being poor and 5 being great, the breakdown would be: Acne Clearing: 3, Mattifying: 4, Hydrating: 2. (Scent: 1.) I paid $23.50 for a 1.7 fl oz / 50 ml bottle direct from the Vichy USA website, but I think that the product has since been discontinued because I can’t find it listed on their website any longer. It may be offered at other websites, but I’m not in a rush to offer any recommendations.